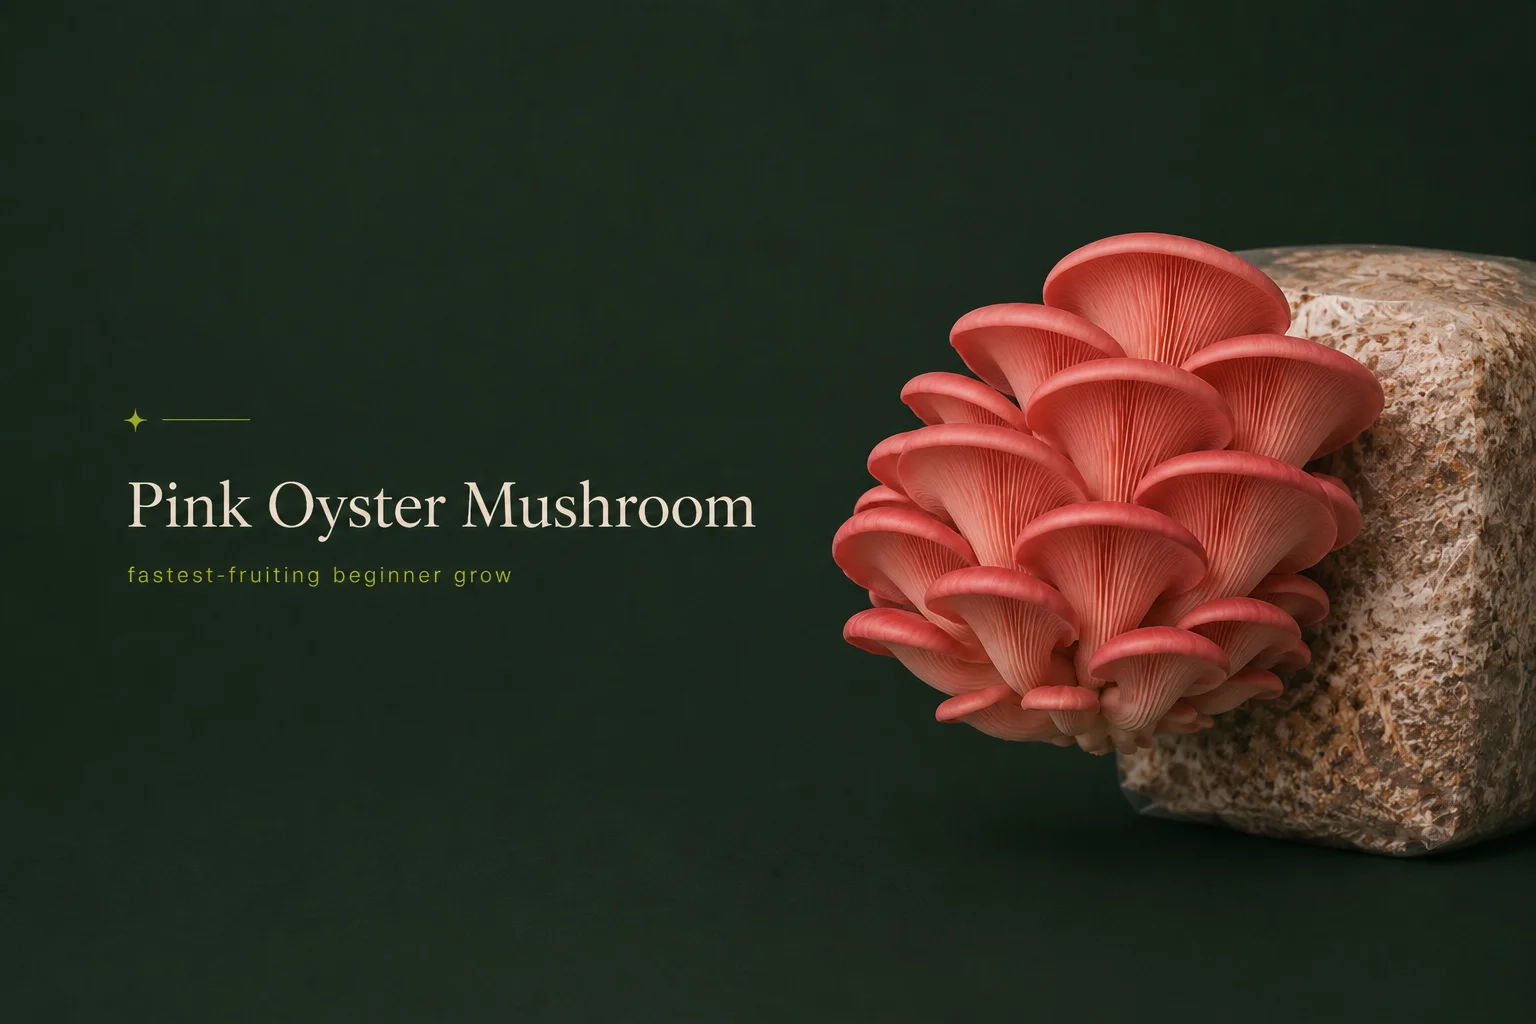
The pink oyster mushroom (*Pleurotus djamor*) is a tropical, warm-loving species that fruits faster than any other oyster we carry — from fully colonized block to first harvest in as little as 10–14 days under ideal conditions. It tolerates fruiting temperatures of 70–85°F, colonizes grain in 7–14 days, and produces vivid hot-pink clusters that are as striking to look at as they are satisfying to cook. For new growers at Foxfire Mushrooms who want a fast, impressive, low-fuss first harvest, Pink Oyster is the call.
This guide covers everything you need to grow Pink Oyster successfully: species background, growing conditions, step-by-step cultivation, harvesting technique, culinary tips, and troubleshooting.
Pleurotus djamor — also known as the pink oyster, flamingo oyster, or (in older literature) P. flabellatus — is a fast-growing wood-decomposing fungus native to tropical and subtropical regions of Asia and Africa. In the wild it fruits prolifically on decaying hardwood in warm, humid climates, which tells you exactly what it wants in your grow space: warmth and moisture.
The fruiting bodies emerge in overlapping fan-like clusters. Young pink oysters are a vivid, saturated hot pink — one of the most eye-catching colors in all of mushroom cultivation. Caps are convex when young and flatten as they mature. The gills run down the stem (decurrent), and the stems are thick and firm.
The color is the first thing most people notice. The flavor is what keeps them growing it.
Pink Oyster is fully edible and prized in tropical Asian cooking. Its shelf life is short — 24–48 hours at room temperature, 3–5 days refrigerated — which makes it an ideal grow-your-own mushroom. You harvest it, cook it the same day, and experience it at peak quality in a way that no grocery store can match.
Most beginner mushroom growers share a common fear: doing everything right and still getting nothing. Pink Oyster is a powerful antidote to that anxiety.
It grows fast. From a colonized grain spawn block fully integrated into bulk substrate, fruiting can begin within days of initiating fruiting conditions. Total time from inoculating grain with liquid culture to first harvest: as little as 3–4 weeks. For a beginner who wants proof that the process works, that speed is confidence-building.
It tolerates warmth. Colorado summers can make it tricky to keep grow spaces cool enough for species like Blue Oyster, which wants 55–65°F fruiting temps. Pink Oyster actively wants 70–85°F — a range that most indoor spaces naturally hit in summer without any climate management. No AC, no chillers, no problems.
It’s visually unmistakable. When Pink Oyster pins are forming, there’s no question about what’s happening. The vivid color makes contamination easy to spot (anything green, black, or brown that isn’t supposed to be there stands out against the pink). And when harvest is ready, you’ll know — the clusters are impossible to miss.
It’s forgiving of imperfect conditions. Pink Oyster will fruit in conditions that would stress a more sensitive species. It’s not reckless — consistent humidity and FAE still matter — but it has more tolerance for minor deviations than Lion’s Mane or Reishi.
For more context on choosing your first species, see our Gourmet Mushroom Species Guide and Best Mushrooms for Beginners articles.
| Parameter | Optimal Range |
| Colonization Temperature | 75–85°F |
| Colonization Time (grain) | 7–14 days |
| Fruiting Temperature | 70–85°F (ideal: 75–80°F) |
| Relative Humidity (fruiting) | 85–95% RH |
| Fresh Air Exchanges | 4–6 per day |
| CO2 Target (fruiting) | less than 1,000 ppm |
| Light (fruiting) | 12 hrs indirect light/day (any standard room light) |
| Pin Formation | 5–7 days after fruiting conditions initiated |
| Days Pin to Harvest | 3–5 days |
| Typical Yield | 1+ lb per flush from a 5lb block |
| Number of Flushes | 2–3 (sometimes 4 with good block rehydration) |
| Shelf Life (post-harvest) | 24–48 hrs room temp; 3–5 days refrigerated |
Pink Oyster is one of the least picky species when it comes to substrate. It’s an aggressive decomposer and will colonize a range of carbon-rich materials readily.
CVG is the most popular substrate for oyster mushrooms among home growers, and for good reason: it’s cheap, widely available, easy to pasteurize, and holds moisture well. A standard CVG mix of 650g brick coco coir, 2 quarts vermiculite, and 1 tablespoon gypsum, hydrated and pasteurized, makes an excellent base for Pink Oyster at a 1:3 spawn-to-substrate ratio. At Foxfire, our CVG 10lb bulk substrate is pre-mixed and ready to use — just hydrate to field capacity (about 60–65% moisture; squeeze a handful and only a few drops should fall) and you’re ready to layer.
Wheat or rice straw (pasteurized, not sterilized) is a classic Pink Oyster substrate and works beautifully. Chop or break straw into 3–6″ pieces for better packing, pasteurize in hot water (160–180°F for 60–90 minutes), drain and cool to room temperature, then layer with spawn. Straw blocks can produce large, impressive flushes, and the open structure gives Pink Oyster the oxygen access it loves.
Oak sawdust supplemented with wheat bran or soy hulls (like our Oak Soy Hull substrate bags) produces excellent Pink Oyster flushes, though it’s more commonly associated with Lion’s Mane and Shiitake. It requires sterilization rather than pasteurization. If you’re already running a sterilized hardwood setup for other species, Pink Oyster will perform well on it too.
See our full Mushroom Substrate Guide for in-depth coverage of substrate mixing, hydration, pasteurization, and sterilization.
You have two options at Foxfire:
Work in as clean an environment as possible — wipe surfaces with isopropyl alcohol, wear gloves, and use a still air box or flow hood if available. Shake the grain bag to break up any clumps. Inject 2–4ml of liquid culture per quart of grain through the self-healing injection port. Seal and label with the date.
For full inoculation technique, see our How to Inoculate Grain Spawn guide and Liquid Culture Syringes Guide.
Colonization temperature: 75–85°F. Store grain bags in a warm, dark location — a closet with a heat mat set to 80°F works well. Avoid direct light during colonization; it does nothing beneficial and can cause premature pinning on the grain surface.
Shake the bag once, around day 5–7, to redistribute mycelium and speed colonization. You’ll see the grain turning white as mycelium spreads — this is exactly what you want. Full colonization (grain completely white, no visible dry pockets) takes 7–14 days for Pink Oyster at optimal temperatures.
Watch for contamination: Green (Trichoderma), black, or wet/slimy patches that smell sour indicate contamination. A fully contaminated bag should be removed from the grow space and discarded. See our Contamination Prevention guide for troubleshooting.
Once grain is fully colonized, break it up and mix it into your prepared, cooled bulk substrate (CVG or pasteurized straw) at a 1:3 spawn-to-substrate ratio by volume — one part colonized grain for every three parts substrate. Mix thoroughly in a clean container, pack into a fruiting container or cut bag, and cover loosely.
Allow 5–10 days for the grain spawn to colonize through the bulk substrate. Keep at 75–80°F. You’ll see white mycelium spreading through the substrate mass. Once the entire block is covered in white mycelium and the surface looks fully colonized, it’s time to initiate fruiting.
This is where the magic starts. To trigger pinning:
1. Lower temperature slightly — if possible, drop to 70–75°F from the 80°F colonization temp
2. Increase fresh air exchanges — open your fruiting chamber or tent more frequently; aim for 4–6 FAE/day
3. Increase humidity — mist the surface and walls of your fruiting chamber to bring RH to 85–95%
4. Introduce light — 12 hours of indirect light per day gives mycelium directional cues for pin formation
Within 5–7 days of initiating these conditions, you should see primordia (tiny pin-like nubs) forming on any exposed surface of the colonized block. These will be bright pink almost immediately.
Harvest timing with Pink Oyster is critical — not because it’s technically demanding, but because you must not wait too long.
Pink Oysters mature very rapidly once pins develop. The cluster goes from small and button-like to fully mature in just 3–5 days. The harvest window is when:
– The caps are still slightly cupped downward at the edges (not yet fully flat)
– Color is at maximum saturation — vivid hot pink
– The caps haven’t started dropping spores (a white powder on surfaces below the mushroom means you’ve pushed to the edge of the window)
To harvest: grip the entire cluster at the base and twist and pull in one motion to remove it cleanly from the substrate surface. Avoid leaving stub remnants, which can become contamination points. A clean harvest wound helps the block recover for the second flush.
Color after harvest: Pink Oyster will begin fading within hours at room temperature. Use immediately, or refrigerate and use within 3–5 days. The color also fades dramatically when cooked — this is completely normal and not a quality issue.
Once you’ve harvested the first flush, the block still has significant productivity left.
Rest and rehydrate the block:
1. Remove any spent stem bases or substrate debris from the harvest site
2. Submerge the block in cool water for 2–4 hours, or mist heavily over 24 hours
3. Resume fruiting conditions (humidity, FAE, light, temperature)
Pins for the second flush typically appear within 5–10 days. A third flush is common with good block management. Yield per flush decreases slightly with each subsequent round, but blocks often produce 2+ lbs total across all flushes from a 5lb substrate block.
After three flushes, most growers retire the block to a compost pile or garden bed — Pink Oyster mycelium continues to break down organic matter and may produce bonus outdoor fruiting if the weather cooperates.
Pink Oysters reward high-heat, fast cooking. Here’s what you need to know:
The color change is expected. That brilliant pink fades to pale pink or off-white when exposed to heat. It’s not a sign of spoilage or bad mushrooms — it’s the nature of the pigment. What you lose in color you gain in flavor.
Cook hot and dry first. The biggest mistake with oyster mushrooms is crowding them in a wet pan — they steam instead of sear, become soggy, and lose their texture. Use a wide, heavy pan (cast iron or stainless), heat until very hot, and add mushrooms in a single layer with no oil at first. Let moisture evaporate, then add butter or oil and cook until golden.
The flavor payoff: When properly seared, Pink Oyster develops a deep, savory, almost bacon-like umami quality with a meaty, chewy bite. It’s one of the most flavorful oyster mushrooms you can grow — the culinary experience is nothing like the raw mushroom smell suggests.
Strip larger caps into bite-sized pieces, keep smaller clusters intact. Excellent in tacos, rice bowls, pasta, stir-fries, and anywhere you want textured, savory mushroom presence.
The most common culprits:
1. Too warm and too little FAE: Pink Oyster wants warmth but also fresh air. If your space is 85°F+ and sealed, CO2 builds up and suppresses pinning. Increase ventilation.
2. Not enough humidity: Check your RH with a hygrometer. If you’re consistently below 80% RH, pinning will stall. Mist more frequently or improve your fruiting chamber’s moisture retention.
3. Incomplete colonization: Never rush to fruiting conditions. If the block isn’t fully white throughout, give it more time.
4. Block is too dry: If the substrate shrank away from the sides of the container or feels light, it needs rehydration. Soak for 1–2 hours.
Elevated CO2. Long, thin stems on oyster mushrooms are a classic sign of insufficient fresh air exchange. Increase FAE frequency — aim for 4–6 times daily, or add passive ventilation holes to your fruiting chamber.
Green is almost always Trichoderma — a common mold contaminant that competes aggressively with mushroom mycelium. A small spot on the surface can sometimes be managed by removing the affected area and improving conditions. Widespread green throughout the block means it’s time to start fresh. Our Contamination Prevention guide covers sanitation and prevention in detail.
Humidity dropped during pin development. This is common in dry climates like Colorado — our low ambient humidity at the Front Range means grow spaces lose moisture faster than growers in humid climates expect. Mist more frequently and check for gaps or cracks in your fruiting chamber.
At Foxfire Mushrooms in Longmont, Colorado, we carry everything you need: colonized Pink Oyster grain spawn in 3lb and 6lb bags, 10ml liquid culture syringes, ready-to-fruit grow kits, and bulk CVG substrate. Every order ships with our 30-day money-back guarantee.
Pink Oyster Colonized Grain Spawn (3lb / 6lb) →
Pink Oyster Liquid Culture Syringe (10ml) →
Pink Oyster Grow Kit — Ready to Fruit →
Very fast — faster than any other oyster species. From colonized grain spawn to first harvest typically takes 2–3 weeks when conditions are dialed in. Pins form within 5–7 days of initiating fruiting conditions, and the cluster reaches harvest size in another 3–5 days. The whole grow cycle from LC inoculation to harvest is typically 3–4 weeks.
Yes — and Colorado summers are actually ideal for this species. Pink Oyster’s preferred fruiting range of 70–85°F matches the natural indoor temperature of most Colorado homes during June through August, when cooling Blue Oysters to their preferred 55–65°F would require climate management. At Foxfire Mushrooms in Longmont, we’ve found Pink Oyster to be one of the best summer grow options for this exact reason.
Distinctly so. Blue Oyster is mild, savory, and delicate. Pink Oyster has a bolder, more assertive flavor — deeper umami with a meaty, almost bacon-like quality when sautéed at high heat. Raw, Pink Oyster can smell a bit more pungent than Blue. Cooked properly, it’s one of the most flavorful oyster mushrooms available.
The pink pigmentation in Pleurotus djamor is heat-sensitive and fades when exposed to high cooking temperatures. This is a natural property of the pigment and is completely normal — it doesn’t affect flavor or safety. The visual impact of Pink Oyster is best captured in food photography before cooking. In the pan, focus on the flavor rather than color.
Yes. Our Pink Oyster grow kit is a fully colonized block ready to fruit — no grain spawn, liquid culture, or substrate mixing required. Just open the bag, create a fruiting slit or opening, and maintain humidity and FAE. It’s the fastest path to your first Pink Oyster harvest. When you’re ready to scale up or try the full process yourself, that’s when colonized grain spawn and LC syringes come in.
Refrigerate immediately in a paper bag (not plastic — plastic traps moisture and causes sliminess). Use within 3–5 days. Pink Oysters do not dry or dehydrate well due to their thin flesh; they’re best consumed fresh. Cook them the day of harvest when possible for the best flavor and texture.
Share this article
Grab a beginner-friendly kit and apply what you just read —
or take the quiz and we’ll match you to the right
starting point.
