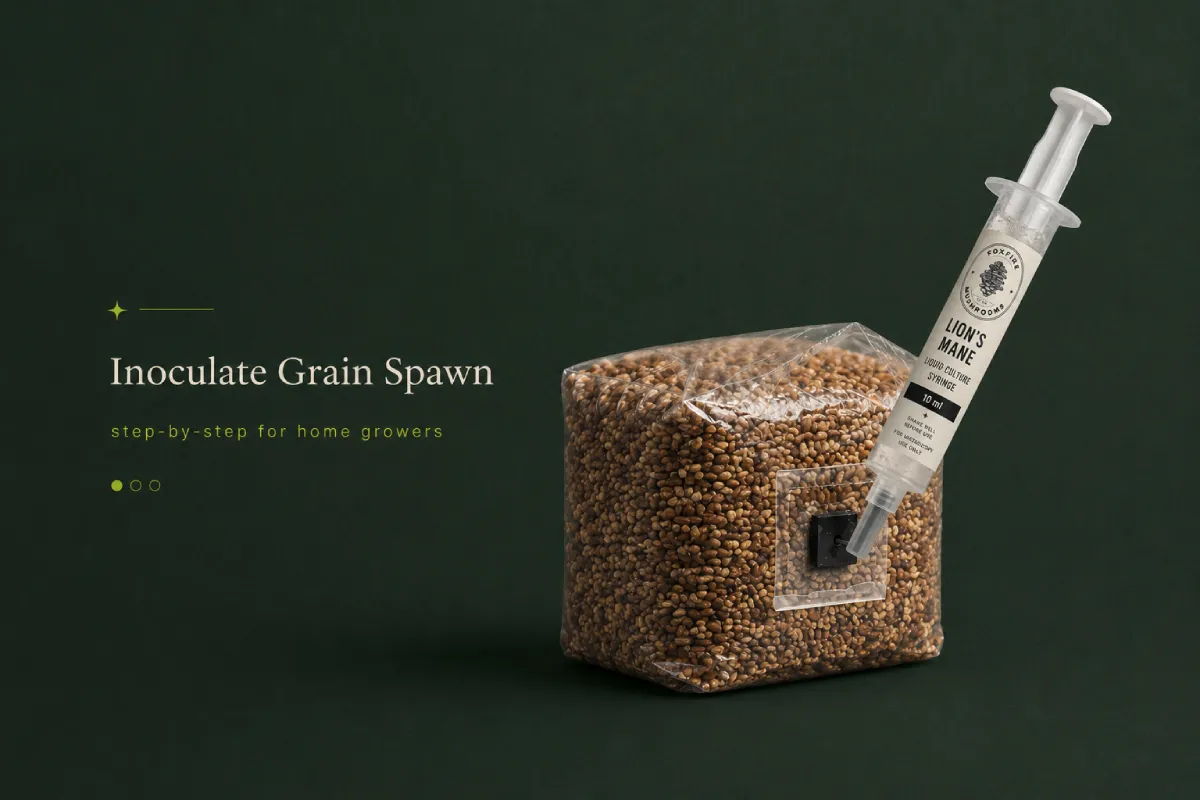
Inoculation is the act of introducing mushroom mycelium — either as a liquid culture or colonized spawn — into a sterile growing medium. It’s the most critical step in home mushroom cultivation, and the one where sterile technique matters most. At Foxfire Mushrooms in Longmont, Colorado, we supply liquid culture syringes, colonized grain spawn, and sterilized grain bags specifically designed to make this process reliable for home growers at every level.
This guide covers three inoculation methods: injecting liquid culture (LC) into grain jars or bags, mixing colonized grain spawn into bulk substrate, and a brief overview of outdoor plug spawn inoculation. Whether you’re using an LC syringe into a sterilized grain bag or mixing pre-colonized spawn into a CVG or Oak Soy Hull block, the fundamentals of sterile technique apply throughout.
New to mushroom growing entirely? Read our beginners mushroom growing shopping list first to make sure you have all the supplies in hand before you start.
Inoculation in mushroom cultivation means introducing living mushroom mycelium — or a culture that will grow into mycelium — into a sterile growing medium. There are two primary routes:
The first route is where your culture begins. The second is where the fruiting block is built. Both require sterile technique — the discipline of preventing airborne contaminants, mold spores, and bacteria from entering your growing medium at any point in the process.
For a detailed look at the difference between colonized grain spawn and sterilized grain bags waiting for inoculation, see our colonized vs. sterilized grain spawn guide.
Here’s the equipment checklist for successful inoculation:
| Item | Purpose |
| Still Air Box (SAB) or laminar flow hood | Creates a clean, low-contamination workspace |
| 70% isopropyl alcohol + spray bottle | Disinfects surfaces, gloves, and injection ports |
| Nitrile gloves (powder-free) | Keeps hand-borne bacteria off your equipment |
| Face mask | Prevents respiratory droplets and exhaled air from contaminating work surfaces |
| Alcohol lamp or butane lighter | Flame-sterilizes needle tips |
| Liquid culture syringe or colonized grain spawn | Your mycelium source |
| Sterilized grain jars or bags (for LC inoculation) | The medium being inoculated |
| Bulk substrate (for spawn-to-substrate method) | CVG or Oak Soy Hull, pasteurized/sterilized |
| Unicorn grow bags or mason jars with injection ports | Containers for your growing medium |
| Micropore tape or self-healing injection ports | Sealing entry points after inoculation |
Foxfire’s sterilized grain bags come with injection ports already installed — no extra prep needed. If you’re using mason jars, you’ll need to add a self-healing injection port to the lid (polyfill-stuffed holes work too, though less convenient).
Sterile technique is not complicated, but it is unforgiving. One lapse — an unwiped surface, a sneeze over an open jar, a needle that touched a non-sterile surface — can mean a contaminated grow. The good news: a clean, still-air environment and disciplined habits get you most of the way there.
A still air box is the most accessible sterile workspace for home growers. It’s simply a clear plastic storage tote — the largest you can find — with two arm-hole cutouts near the bottom front. Dust particles and spores settle quickly in still air; by working inside the box without disturbing the air, you dramatically reduce the chances of airborne contamination landing on your work.
To build one:
To use it: Spray the interior with 70% isopropyl alcohol and wipe down. Let the alcohol evaporate and the air settle for at least 5 minutes before beginning work. Move slowly and deliberately inside the box — quick movements stir air and defeat the purpose.
A laminar flow hood uses a HEPA filter to push sterile, filtered air across your work surface in a smooth laminar layer, sweeping away any contaminants before they can land. It’s the professional standard and is significantly more effective than a SAB — but costs $400–$1,500 depending on size and quality. If you’re scaling beyond hobby production, it’s the right investment.
Regardless of your setup:
This method introduces liquid culture (mycelium suspended in a sterile nutrient solution) directly into sterilized grain. The result — colonized grain spawn — becomes the foundation for your bulk substrate fruiting blocks, or can be used directly to inoculate logs with some species.
For more on liquid culture, see our what is liquid culture guide.
What you’ll need: LC syringe, sterilized grain jars or bags with injection ports, alcohol, flame source.
Step-by-step:
Once you have colonized grain spawn — whether grown from LC yourself or purchased pre-colonized from Foxfire — you’ll use it to inoculate a larger volume of bulk substrate. This is the step that creates your fruiting block.
What you’ll need: Colonized grain spawn, bulk substrate (CVG or Oak Soy Hull — see our mushroom substrate guide), Unicorn grow bags or similar, tape or heat sealer.
Step-by-step:
Here’s what to expect — and when to act — in the days and weeks after inoculation:
Days 1–3: Nothing visible yet. The mycelium is establishing itself on the grain or substrate. Normal.
Days 3–7 (for LC into grain): You should start to see faint white fuzz forming around inoculation points — this is mycelium beginning to colonize. Time to shake.
Shaking grain jars/bags (Day 3–5): Once colonization is clearly underway (visible white patches) but before it reaches 30–40% coverage, shake or break up the grain. This distributes colonized grain throughout uncolonized grain, dramatically speeding up the process. With grain bags, you can shake through the bag walls. With jars, simply invert and shake.
Days 7–14: Significant white colonization should be visible throughout. A healthy colonized grain jar or bag smells lightly earthy, like fresh soil or fresh bread — maybe slightly sweet.
Full colonization (Days 10–21, depending on species and temperature): The entire mass is white. Grain jars look like a solid white block when fully colonized. Bags will feel solid and consistent throughout.
Signs of healthy colonization:
Early contamination signs:
If you spot contamination, see our mushroom contamination prevention guide for how to respond and how to prevent it in future grows.
These are the five most common reasons inoculations fail:
1. Contaminated equipment
The needle, the port, the work surface, or your gloves introduced mold spores or bacteria. Solution: discipline in hygiene protocol. Wipe, flame, and work in still air every time — no exceptions.
2. Injecting while the substrate is still too hot
Grain sterilized in a pressure cooker needs to fully cool — to below 80°F — before inoculation. Hot substrate kills the culture on contact. If your bag or jar feels warm to the touch, wait longer.
3. Wrong incubation temperature
Too cold and mycelium colonizes extremely slowly, giving contamination time to gain a foothold. Too hot and mycelium is weakened or killed. Check your species’ preferred range and verify your incubation location is actually hitting those temperatures — ambient room temps and actual jar/bag temps can differ.
4. Not shaking grain after initial colonization
This is the most frequently skipped step in grain jar and bag grows. Without shaking to redistribute colonized grain, colonization slows dramatically and the mycelium may stall. Shake at Day 3–5 when you see the first patches of white — not before (too early) and not after 40% colonization (can damage mycelium).
5. Poor seals on bags or jars
An inadequate seal — a loose lid, an improperly folded bag, or a damaged injection port — allows unfiltered air exchange, which means unfiltered contamination. Check every seal before incubation. Unicorn grow bags with filter patches are designed for this; don’t compromise the filter area.
Plug spawn inoculation works differently from grain or liquid culture. Instead of injecting into grain or mixing into substrate, you’re physically inserting colonized wooden dowels into drilled holes in hardwood logs.
The basic process:
Sterile technique is less critical for outdoor log cultivation — you’re working with living wood in an outdoor environment, not a sterile substrate. Focus instead on fresh logs (cut within the last 30–60 days for most species), appropriate species pairing (shiitake and wine cap on oak; reishi on oak or cherry), and consistent moisture after inoculation.
For full details on plug spawn log cultivation, see our plug spawn buying guide.
At Foxfire Mushrooms in Longmont, Colorado, we stock everything you need from your first inoculation through your first harvest.
All supplies ship from Longmont, Colorado, and are backed by our 30-day money-back guarantee. If something isn’t right with your order, we’ll make it right.
Questions about which inoculation method is right for your setup? Our colonized vs. sterilized grain spawn guide breaks down the tradeoffs in detail.
0.5–1ml per quart jar is sufficient. More doesn’t mean faster — it means more of your culture used unnecessarily. 1ml per quart bag is standard for bags. Shake immediately after injection to distribute.
Technically, using a fresh needle that hasn’t touched anything non-sterile, you can move quickly between jars. But in practice, re-flaming between jars is low-cost insurance. It takes 10 seconds and eliminates the risk of cross-contamination between containers if any one jar was already compromised. We always recommend re-flaming between jars.
Sometimes you can see a tiny wet spot where the LC was injected. You won’t see individual mycelium — it’s microscopic at this stage. The culture is there; colonization just takes a few days to become visible to the naked eye.
The grain should be 100% white — no visible uncolonized grain remaining. It should feel firm and consolidated when you squeeze the bag (not loose and granular). It should smell earthy and clean. If you’re unsure, give it another day or two — fully colonized spawn outperforms partially colonized spawn every time.
A well-built and well-used SAB gets most home growers through successful inoculations. At hobby scale — a few jars or bags at a time — the SAB is sufficient if you’re disciplined about technique. If you’re scaling up to dozens of bags per run or working with highly sensitive cultures, a laminar flow hood is worth the investment. Start with a SAB and upgrade when your grow justifies it.
Some experienced growers work in a still, clean bathroom with the shower run hot to knock dust out of the air. It’s less reliable than a SAB and not what we’d recommend for beginners. The materials for a SAB cost less than $25 and the difference in success rates is significant. Don’t skip it.
Share this article
Grab a beginner-friendly kit and apply what you just read —
or take the quiz and we’ll match you to the right
starting point.
