

- Scott Brenton
- 11 min read
There’s a particular moment familiar to anyone who has grown mushrooms at home: the last flush has come and gone, the block feels lighter in
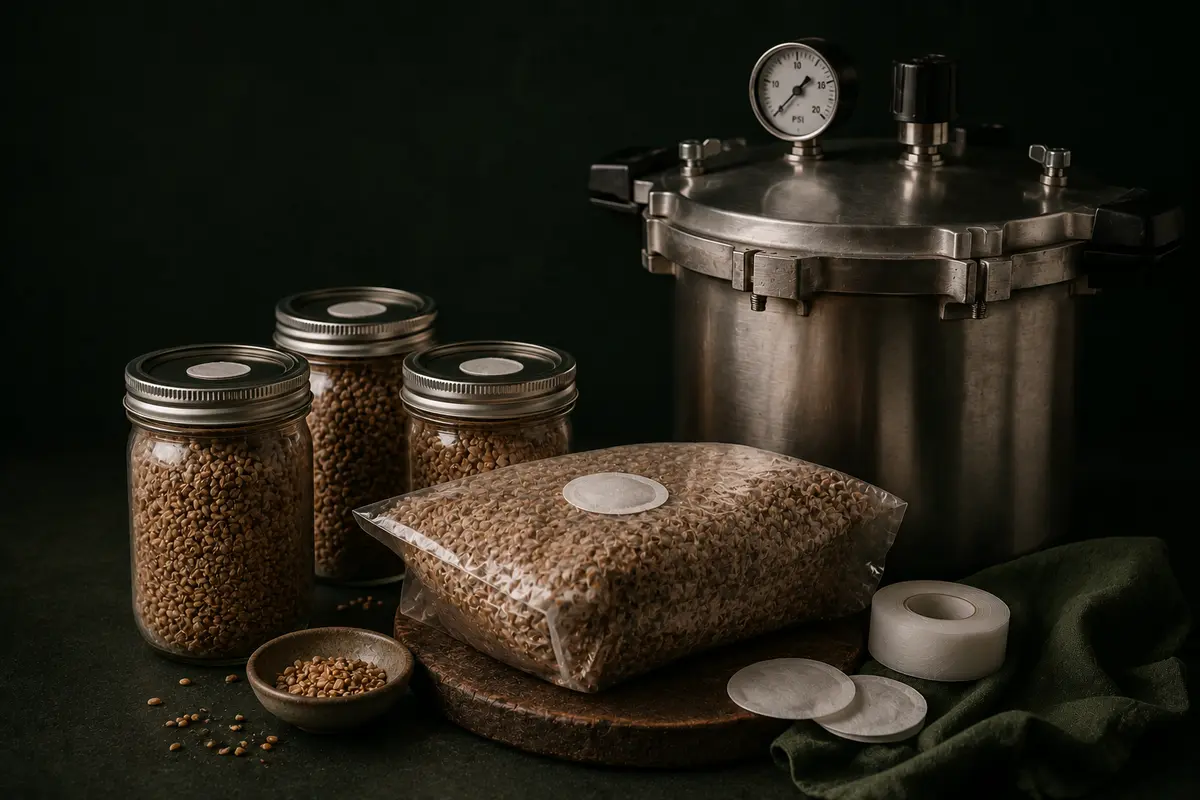
A batch of grain spawn that smells like sour milk within a few days is commonly linked to one issue: the pot used to sterilize it likely never held pressure long enough to kill the bacteria present in the grain. That single issue is the most common reason this question lands in the Foxfire Mushrooms inbox: is a pressure cooker or an Instant Pot the better choice for sterilizing mushroom substrate? A true stovetop unit tends to be the more reliable tool for full sized batches, while the electric version works fine for small jars but struggles once volume goes up, because most consumer Instant Pot models cap out around 11.6 psi instead of the 15 psi generally recommended for a clean kill.
Quick Facts — Ideal pressure for sterilization: 15 psi – Standard time for quart jars: 90 minutes – Instant Pot max pressure on most models: 10.2 to 11.6 psi – Longmont elevation: about 5,000 feet, requiring 15 psi on a weighted gauge or roughly 13 psi on a dial gauge – Typical stovetop canner capacity: 7 quart jars per load – Approximate cost range for a home canner: 90 to 200 dollars
Grain and many bulk substrates hold enough sugar and starch to feed bacteria and mold spores about as readily as mushroom mycelium. A water bath or a rinse in hot tap water knocks down surface contamination, but research on food safety and canning consistently shows it does little against bacterial endospores, which are known to survive well past boiling temperature. That is generally why sterilization is treated as a separate step from simple sanitizing. Sustained heat under pressure, rather than heat alone, is what pushes the internal temperature of a jar or grain bag past 250 degrees Fahrenheit, a threshold widely cited as sufficient to inactivate most spore forming bacteria relevant to substrate contamination.
A stovetop pressure cooker, sometimes sold as a pressure canner when it has a gauge, is built to reach and hold 15 psi using an external heat source you control by hand. An Instant Pot is an electric multi cooker with a built in pressure function, and while it is genuinely useful for cooking dinner, most consumer models are engineered to stay under 12 psi for safety reasons tied to food cooking rather than sterilization. That gap between 11.6 psi and 15 psi does not sound huge, but it changes the internal temperature you can realistically reach, and it changes how long you need to hold that temperature to be confident everything inside the jar is dead.
| Feature | Stovetop Pressure Cooker/Canner | Instant Pot |
| Max pressure | 15 psi, adjustable with weighted gauge | Roughly 10.2 to 11.6 psi |
| Internal temp reached | About 250 to 252°F | About 240 to 244°F |
| Best batch size | Large, 4 to 7 quart jars or grain bags at once | Small, 1 to 3 pint jars |
| Learning curve | Moderate, requires watching the gauge | Low, mostly automated |
| Reliability for full sterilization | High when used correctly | Inconsistent for dense grain |
| Approximate price | 90 to 200 dollars for a quality canner | 80 to 150 dollars, often already owned |
It can get close for small volumes, but this appliance is not the tool most serious growers reach for once they move past a single quart jar. Commercial labs lean on autoclaves for this exact reason, since that equipment holds both pressure and temperature far more precisely than anything built for a kitchen counter, but a home autoclave setup costs several hundred dollars and is overkill for most hobby growers. A quality stovetop canner is really the closest affordable substitute for lab grade equipment, which is why it remains the standard recommendation once volume goes up. The lower psi ceiling means the electric version has to run longer to have any chance of matching what the stovetop unit does in 90 minutes, and even then, dense grain jars packed tightly in the center often lag behind the surrounding water in actual internal temperature. If you are only ever working with one or two jars of rye berries at a time and you are comfortable running the cycle twice, an electric multi cooker can be a reasonable starting point. But if you are filling spawn bags for a serious grow, or prepping substrate at any volume close to what we run through the Longmont lab, the stovetop route earns its keep quickly.
Most quart jars of grain need 90 minutes at 15 psi once the unit has fully vented and come up to pressure, and pint jars can usually get by with 75 minutes. Grain bags with a filter patch, used for larger batches, typically need closer to 2.5 hours because the mass inside takes longer to come up to temperature all the way through. Before sealing any jar or bag, a standard 0.2 micron synthetic filter disc over the port is generally used to allow gas exchange during incubation while still blocking airborne contaminants, a step that plays a meaningful role alongside the sterilization cycle itself.
Venting the canner for a full 10 minutes before the weight or gauge is added is also part of the standard process, since trapped air pockets read as pressure on the gauge without actually reaching sterilization temperature. The clock starts only once the gauge shows steady pressure, not from the moment the heat goes on, which is a detail new growers often miss and one reason spawn still contaminates even though the cooker ran for what felt like long enough.
This is a detail that almost never shows up in generic grow guides, and it works backward from what most people assume. Water boils at a lower temperature the higher the elevation, so at altitude the pressure inside a canner needs to climb higher to reach the same 250 degree kill zone, not run longer. Longmont sits close to 5,000 feet, and at that elevation a weighted gauge canner needs to run at 15 psi instead of the 10 psi some sea level recipes call for, while a dial gauge canner typically needs to sit around 13 psi rather than the standard 11 or 12. Processing time does not change once the correct pressure is dialed in, only the pressure does.
This distinction has cost the Foxfire lab a batch before. A load that should have come out clean instead came back with a faint sour smell, traced to a weighted gauge running at 10 psi because that number came from a canning chart written for sea level. Anyone in Colorado, the mountain west, or another region well above 1,000 feet should check their exact elevation against their canner’s altitude chart before the next run. It is a quick check that prevents an entire wasted batch.
Most contamination problems trace back to one of these, not to the equipment itself. Overfilling the unit so steam cannot circulate evenly around every jar. Skipping a proper vent before the load comes up to pressure, which traps air pockets that never reach true kill temperature even though the gauge looks correct. Loose lids. Foil instead of a proper filter patch or micropore tape. Pulling jars out before the pressure has released naturally.
These are the most common issues customers report troubleshooting after a bad batch, and in most cases they point to technique rather than the appliance itself. Technique related issues are also generally the easiest to correct on the next run.
Not necessarily. Most first time growers weighing whether a fifty dollar Instant Pot is really the right first purchase, before ever growing anything, do not actually need one yet. A ready to fruit grow kit skips the sterilization step entirely, since the substrate arrives already colonized and sterile, which shifts the learning curve toward humidity and harvest timing instead of psi charts. The Blue Oyster and Lion’s Mane kits are built for exactly that reason. Once a grower is ready to scale up, moving into grain spawn and liquid culture with a proper sterilization setup becomes the natural next step, not something that has to be figured out on day one.
If all of this sounds like more equipment than you want to manage right now, our fully colonized grain spawn is tested for contamination right here in the Longmont lab before it ships, so you can inoculate with confidence even before you own a canner of your own. And if you are just getting curious about growing at home for the first time, start with one of our grow kits, since the substrate work is already done for you. Either way, browse the shop, pick the format that matches where you are in the process, and you will have mushrooms on your counter before you know it.
A regular stovetop pressure cooker that can hold a steady 15 psi will work fine, though a dedicated pressure canner with a weighted gauge tends to be more accurate for longer cycles.
Yes, it is safe to use, it just is not always effective for full sterilization on dense grain in larger jars, so it works best for small pint sized batches rather than full grain bags.
Sustained heat above 250 degrees Fahrenheit, which is what 15 psi produces at sea level, is widely regarded as sufficient to reliably inactivate the bacterial endospores that survive ordinary boiling.
Growers generally look for grain or substrate that smells neutral or slightly earthy, without sour, yeasty, or sulfur notes, and shows no discoloration after inoculation, as early signs the load was likely sterilized correctly. Ongoing healthy mycelial growth over the following days is the stronger confirmation.
Yes, as long as the water stays clean and you are not running low on volume, though you should always check your canner’s manual for its minimum water requirement before each cycle.
Usually it comes down to overfilling the unit, insufficient venting before pressurizing, or a small gap in the lid seal that let unsterile air in after cooling, rather than the cycle length itself being too short.
It depends on your goals. Doing it yourself is more cost effective at scale and gives you more control, but if you are still learning, pre colonized grain spawn or a grow kit removes the guesswork while you build confidence.
Share this article
There’s a particular moment familiar to anyone who has grown mushrooms at home: the last flush has come and gone, the block feels lighter in
Grab a beginner-friendly kit and apply what you just read —
or start with our beginner’s guide to find the right first grow.