Growing mushrooms at home is one of the most accessible, rewarding, and genuinely fascinating hobbies you can pick up — and it’s far simpler than most people expect. With the right spawn, a clean workspace, and a basic understanding of what mushrooms actually need, most beginners harvest their first flush within 3 to 6 weeks of getting started.
At Foxfire Mushrooms in Longmont, Colorado, we’ve helped hundreds of first-time growers go from curious to confident. This guide covers everything you need: which species to choose, how spawn works, what equipment you’ll actually use, and a clear walkthrough of the cultivation process from inoculation through harvest.
Home mushroom cultivation sits at a rare intersection: it’s simultaneously a practical food-growing skill, a deeply satisfying science project, and a window into one of the most remarkable kingdoms of life on Earth. Here’s why so many Coloradans are picking it up.
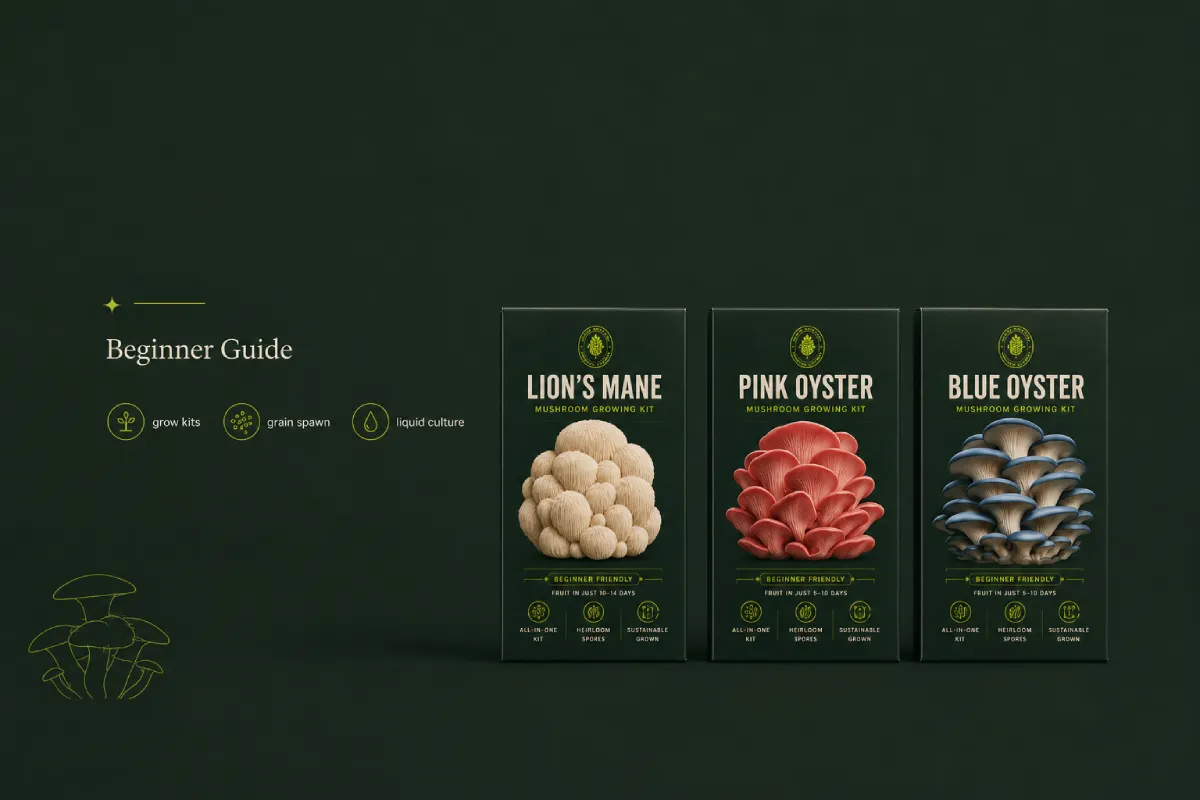
Not all mushrooms are equally easy to grow, and choosing the right species for your first attempt matters more than almost any other decision you’ll make. The good news: three species consistently perform well for beginners — Lion’s Mane (Hericium erinaceus), Blue Oyster (Pleurotus ostreatus), and Pink Oyster (Pleurotus djamor).
We have a dedicated deep-dive on this exact question. See our guide to the best mushrooms for beginners for full breakdowns of each species, including growing temperatures, harvest timelines, and flavor profiles.
The short version:
| Species | Difficulty | Days to First Harvest | Best For |
| Pink Oyster | Very Easy | 14–21 days | Warmth lovers (75–85°F) |
| Blue Oyster | Easy | 21–28 days | Cooler homes (55–65°F fruiting) |
| Lion’s Mane | Easy–Moderate | 30–45 days | Culinary & wellness interest |
| Shiitake | Moderate | 60–90 days | Patient growers |
For most beginners, we recommend starting with either Blue Oyster or Pink Oyster mushrooms — they colonize quickly, fruit reliably, produce impressive yields, and taste excellent. Lion’s Mane is a close third and worth adding to your second or third grow.
Spawn is to mushrooms what seed is to vegetables — it’s the starting material that contains the living mycelium (the vegetative network of the fungus) that will eventually produce your fruiting bodies (the mushrooms you eat).
There are two main types of grain spawn you’ll encounter at Foxfire, and understanding the difference is key to picking the right product. We’ve covered this in detail in our colonized vs. sterilized grain spawn comparison guide.
For your first grow, colonized grain spawn or a ready-to-fruit grow kit are the two best starting points. Both remove the inoculation step and let you focus on learning the fruiting process first.
You don’t need a lot of gear to grow mushrooms at home, and you almost certainly don’t need everything a specialty catalog tries to sell you. Here’s an honest breakdown of what actually matters.
See our full mushroom growing shopping list for a complete breakdown with product recommendations at every budget level.
The essentials:
Nice to have (but not required to start):
Total startup cost for a first grow using a Foxfire grow kit or colonized grain bag with basic supplies: typically $30–$75.
Home mushroom cultivation follows a reliable sequence of four phases. Understanding each phase — and what your mushrooms actually need during it — takes most of the mystery out of the process.
Inoculation is the process of introducing your mycelium (spawn) to its growing medium (substrate). If you’re using a colonized grain bag from Foxfire, you can skip this step for your first grow — the hard work is already done. If you’re working with sterilized grain and a liquid culture syringe, inoculation involves injecting the LC syringe through the self-healing injection port on your bag.
The most important rule at this stage: cleanliness. Work in a still-air environment or in front of a flow hood if you have one. Wipe all surfaces with 70% isopropyl alcohol. The mycelium is competing against every mold spore and bacteria in your environment, and a clean workspace tips the odds dramatically in your favor.
Colonization is the period during which mycelium spreads through and consumes the substrate. Visually, you’ll watch your bag or block go from partially white to fully colonized — a solid, dense, bright white mass.
Once fully colonized, your block needs a signal to start producing mushrooms. In nature, that signal is a change in season — dropping temperatures, increased fresh air, and higher humidity. You replicate this indoors.
Note: Pinning typically begins 3–7 days after initiating fruiting conditions in species like Oysters. Lion’s Mane may take 7–14 days.
Harvest timing matters more than most beginners realize. For oyster mushrooms, harvest just before or as the caps begin to flatten and roll outward — typically when they’ve reached 1–3 inches across. Waiting too long causes the caps to release spores (a brown dust that’s harmless but messy) and reduces the quality of the mushroom.
To harvest: Grip the cluster at the base and twist gently while pulling. You want to remove the entire cluster base to prevent the stump from rotting and contaminating the block for subsequent flushes.
After harvesting, let the block rest in clean conditions for 5–10 days. Rehydrate if needed by submerging or misting. Most species will produce 2–3 additional flushes (sometimes more) from the same block, with each successive flush slightly smaller than the last.
First flush yields vary by species and block size, but expect roughly 15–25% of the block’s dry weight in fresh mushrooms per flush. A 3lb colonized grain bag introduced to hardwood substrate can yield 0.5–1.5 lbs of mushrooms across all flushes.
Substrate is the nutritional medium your mycelium colonizes — it’s effectively the “soil” of mushroom farming, though the analogy isn’t perfect. Different species evolved to break down different organic materials, so substrate choice matters.
For a much deeper dive into substrate options, ratios, and preparation, see our mushroom substrate guide.
Most failed first grows come down to a handful of predictable issues. Here’s how to sidestep the most common ones.
Once you’ve completed a few successful grows, the natural next step is expanding your operation. The jump from “one block in a tote” to a small home setup capable of producing several pounds per week is not as large as it sounds.
A Martha tent setup — a wire shelving rack inside a greenhouse-style plastic tent, with an ultrasonic humidifier, small fan, and inkbird humidity controller — can house 10–20 fruiting blocks simultaneously in a footprint of about 2 feet by 4 feet. This is the standard setup for hobbyists who want consistent, meaningful yields.
As you scale, moving from grow kits and colonized grain to working with your own sterilized grain bags and liquid cultures becomes economically attractive. A single liquid culture syringe can inoculate 10–20 sterilized grain bags, dramatically reducing per-unit cost.
For Colorado growers interested in taking cultivation further — selling at farmers’ markets, supplying local restaurants, or running a small home-based micro-farm — the cultivation fundamentals you learn here scale directly. The process is the same at 10 blocks or 500; the inputs just get larger.
Foxfire Mushrooms was built in Longmont, Colorado, by cultivators who grow here, live here, and understand what it means to grow in the Rocky Mountain climate. Our location at 426 Crystal Place puts us at the foot of the Rockies — where dry air, wide temperature swings, and a passionate local food community shape everything we do.
When you order from us, your spawn was produced and quality-checked locally — not warehoused across the country and shipped through temperature-variable logistics chains. Our colonized grain bags leave Longmont fully viable and ready to fruit. We know Colorado’s climate and the specific challenges it creates for home cultivators, and we build that knowledge into every product recommendation we make.
We also stand behind what we sell. Every order comes with our 30-day money-back guarantee — if your spawn doesn’t perform, we make it right. No complicated return process, no questions designed to make you give up.
Whether you want the simplest possible first harvest or you’re ready to build a real home cultivation setup, Foxfire Mushrooms has what you need — grown and shipped from Longmont, Colorado.
Not sure where to start? Our mushroom growing shopping list walks you through every option by budget and skill level.
Every order from Foxfire is backed by our 30-day money-back guarantee. If your spawn doesn’t perform, we’ll make it right — no runaround.
The timeline depends heavily on species and your starting material. With a ready-to-fruit grow kit, Pink Oyster mushrooms can produce their first harvest in as little as 7–14 days. Starting from colonized grain spawn with a substrate block, expect 3–6 weeks for most oyster species and 6–10 weeks for Lion’s Mane or Shiitake. The colonization phase (14–21 days) is typically the longest part of the process.
Not if you’re starting with colonized grain spawn or a grow kit. A pressure cooker (15 PSI capable) is only needed if you want to sterilize your own grain bags — an intermediate-to-advanced technique. For your first several grows, Foxfire’s ready-to-use colonized grain bags or grow kits eliminate this requirement entirely.
Very little. A single fruiting block can be maintained in a clear plastic storage tote (a 66-quart tote works well). That block, sitting in a corner of your kitchen or spare room, can yield 0.5–1.5 lbs of mushrooms per harvest across multiple flushes. A dedicated Martha tent setup for larger production fits in roughly 2 feet by 4 feet of floor space.
Yes. Growing culinary mushrooms at home using commercially available spawn is safe and straightforward. The species sold by Foxfire — oyster varieties, Lion’s Mane, Shiitake — are well-documented culinary mushrooms with long histories of cultivation and consumption. As with any food production, maintain clean practices to prevent contamination.
Most common cultivation species tolerate normal home temperatures well. Blue Oyster mushrooms fruit optimally at 55–65°F — they actually appreciate Colorado’s cooler indoor winters. Pink Oyster prefers 75–85°F and thrives in summer. Lion’s Mane fruits best at 60–70°F. Colorado homes naturally oscillate through these ranges seasonally, which you can use to your advantage by choosing species that match your current season.
Most blocks produce 2–4 flushes before the mycelium exhausts the available nutrients. The first flush is typically the largest, with subsequent flushes declining in yield. Proper post-harvest care — removing all mushroom stumps, allowing the block to rest 5–10 days, and rehydrating if needed — maximizes total yield across all flushes.
A grow kit is a fully colonized, fruiting-ready block that typically just needs to be unboxed, cut open, and placed in a humid environment — the simplest possible start. Colonized grain spawn is fully colonized grain that you mix into a substrate to create your own fruiting block — one step more involved but more versatile and cost-effective per pound of mushrooms produced.
Look for any color that isn’t white in your colonizing block: green (Trichoderma mold — the most common), black, pink, orange, or yellow patches all indicate contamination. A foul or sour smell is another reliable sign. White “blobs” that don’t look like mycelium (wet, slimy, or oddly textured) may indicate bacterial contamination. When in doubt, seal the bag in a garbage bag and dispose of it outside — don’t open a contaminated bag indoors.
Share this article
Grab a beginner-friendly kit and apply what you just read —
or take the quiz and we’ll match you to the right
starting point.
