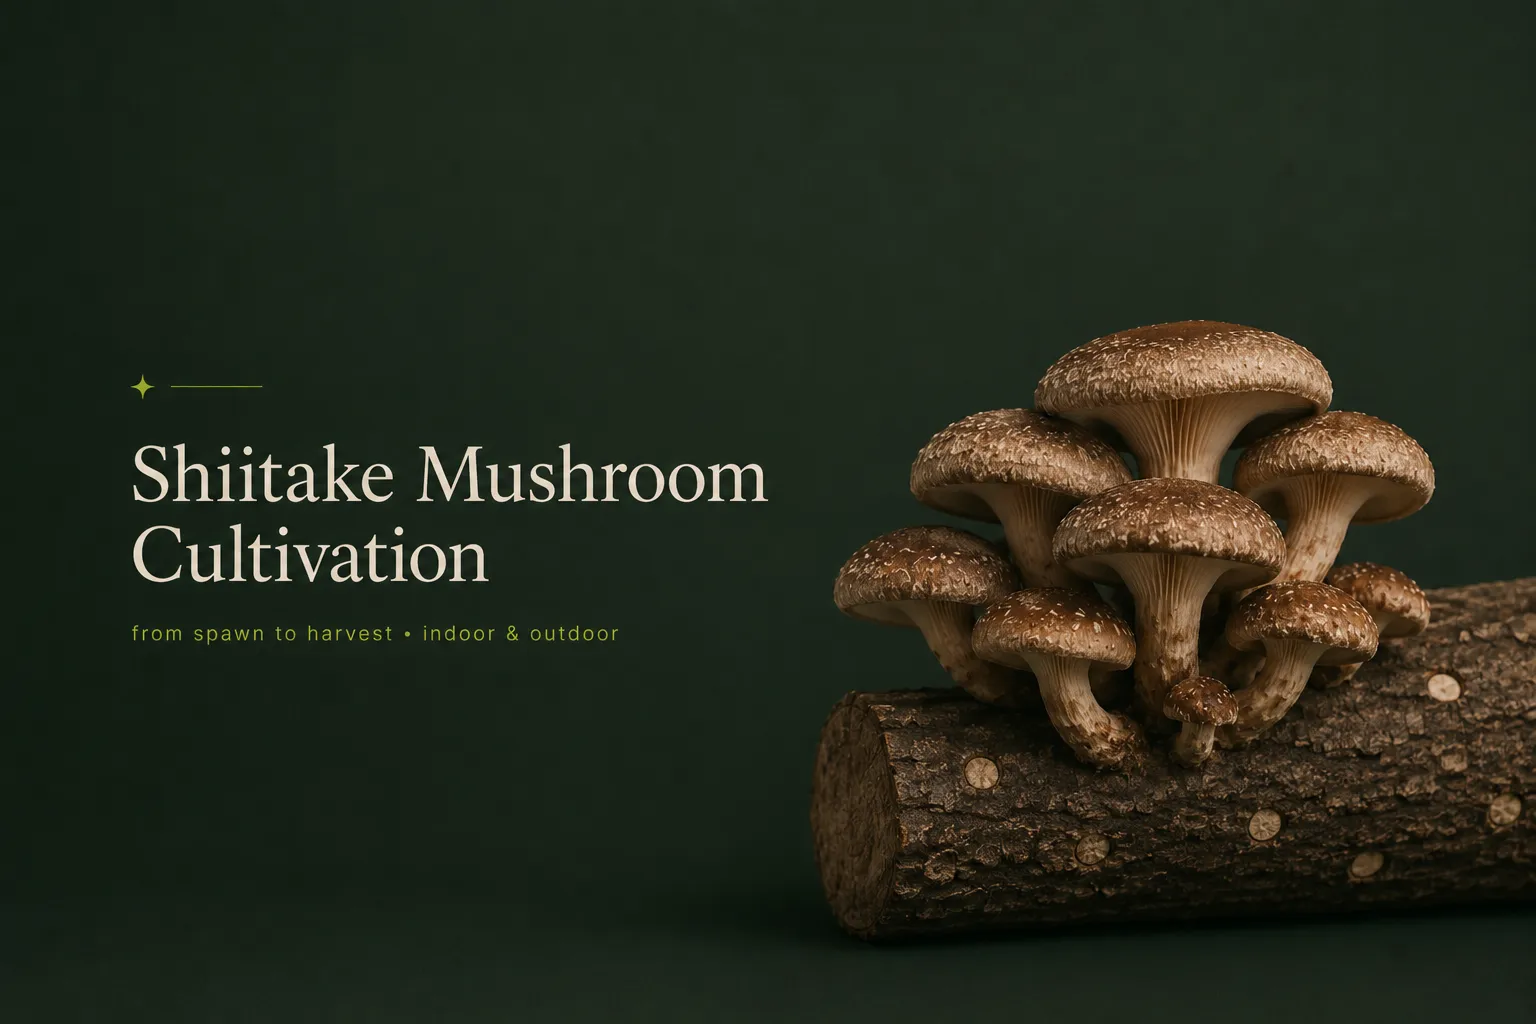
Shiitake (*Lentinula edodes*) is the most umami-rich cultivated mushroom you can grow at home — earthy, savory, complex, and vastly better fresh-grown than anything sitting on a grocery store shelf. It has been cultivated in East Asia for over 1,000 years, and today it offers modern growers two very different production paths: a faster indoor approach using supplemented sawdust blocks, or the slow-reward tradition of inoculating hardwood logs for years of outdoor production.
At Foxfire Mushrooms in Longmont, Colorado, we carry shiitake Mushroom grain spawn, plug spawn, and liquid culture to support both methods. This guide covers everything you need to succeed at either one.
Lentinula edodes — shiitake — is a brown-capped, wood-rotting fungus that grows naturally on decaying hardwoods throughout East Asia, particularly on shii trees (Castanopsis species), from which it takes its name. Cultivated for over a millennium in China and Japan, it is one of the most economically important mushrooms in the world, second only to the common button mushroom (Agaricus bisporus) in global production volume.
In appearance, shiitake is immediately recognizable: a wide, umbrella-shaped cap ranging from light tan to dark brown, with a dense veil underneath that connects the cap edge to the stem on young mushrooms. That veil, called the curtain or partial veil, tears as the mushroom matures. Harvesting just as the veil tears — before it fully opens — captures the mushroom at peak flavor and texture.
Flavor-wise, shiitake is unmatched among cultivated mushrooms for depth of umami. It contains the highest natural glutamate levels of any cultivated species, and drying concentrates those compounds further, making dried shiitake one of the most intensely flavored ingredients in a home cook’s pantry. If you’ve ever made a broth with dried shiitake and been surprised by how rich it tastes, that’s glutamic acid and guanylic acid doing their work — the same compounds that make aged parmesan and anchovies extraordinary.
| Parameter | Indoor Block | Outdoor Log |
| Substrate | Supplemented hardwood (oak sawdust + soy hulls/bran) | Freshly cut hardwood logs (oak, maple, alder) |
| Colonization Temp | 68–78°F | Ambient (spring/fall inoculation) |
| Colonization Time | 8–12 weeks (block); 14–21 days (grain) | 12–18 months to first fruiting |
| Fruiting Temp | 55–65°F | 55–65°F (natural autumn conditions) |
| Humidity (fruiting) | 80–90% RH | Natural rainfall + humidity |
| Cold Shock Required | Yes — 50–55°F soak, 12–24 hours | Yes — cold water soak or natural rain |
| Pin to Harvest | 5–7 days | 5–7 days per flush |
| Yield | 200–300g per flush; 3–4 flushes | Multiple flushes per year; 4–7+ years production |
| Difficulty | Intermediate | Intermediate |
| Colorado Best Season | Year-round (controlled environment) | Inoculate March–April; fruit spring and fall |
Indoor shiitake cultivation on supplemented hardwood blocks gives you control over every variable — timing, temperature, yield — and produces beautiful mushrooms year-round regardless of Colorado’s outdoor conditions.
Shiitake is a wood rot specialist. Unlike oyster mushrooms, which colonize a wide range of substrates aggressively, shiitake performs significantly better on supplemented hardwood than on CVG or straw.
The ideal mix: oak sawdust (or a hardwood blend) supplemented with wheat bran or soy hulls at 10–20% by dry weight. The supplementation adds nitrogen and nutrients that drive robust mycelium growth and heavier fruiting body formation. Without it, shiitake will still fruit on plain sawdust — just slower and lighter.
At Foxfire, our Oak Soy Hull substrate bags are formulated specifically for this use case: a ready-to-sterilize hardwood and soy hull blend that takes the guesswork out of mixing. Compared to CVG (which works fine for oysters but lacks the nutritional density shiitake wants), supplemented hardwood blocks produce noticeably larger, denser, better-flavored shiitake fruiting bodies. See our Mushroom Substrate Guide for full mixing details and hydration targets.
Important: Supplemented hardwood must be sterilized (pressure cooked at 15 psi for 2.5–3 hours), not merely pasteurized. The high nutrient content creates a contamination risk that pasteurization alone can’t reliably address.
Once your substrate bags are sterilized and cooled to below 80°F, inoculate using either:
– Colonized grain spawn: Break up the colonized grain and mix into the cooled substrate at a 1:5 to 1:7 ratio (grain spawn to substrate by volume). Seal and label.
– Liquid culture syringe: Inject 3–5ml of shiitake LC into the cooled substrate bag through the self-healing port. Works, but colonization will be slower than with grain spawn.
For detailed inoculation technique, our How to Inoculate Grain Spawn guide and Liquid Culture Syringes Guide walk through sanitation and injection procedure step by step.
Colonization conditions: 68–78°F, dark. Grain fully colonizes in 14–21 days. A fully supplemented hardwood block takes significantly longer — allow 8–12 weeks for the block to consolidate, harden, and show that characteristic browning on the surface that indicates full colonization and readiness to fruit. Rushed shiitake blocks that fruit too early produce weak flushes. The wait is worth it.
Look for the substrate mass to feel firm, the bag to be uniformly white-to-cream throughout, and the exterior to develop a thick, brownish outer casing (primordia casing layer) before initiating fruiting. That brown casing is shiitake telling you it’s ready.
This is the step that surprises most first-time shiitake growers. Shiitake will not reliably pin without a cold shock that mimics the temperature drop of autumn. Without it, you can wait weeks staring at a fully colonized block that just sits there.
Method 1 — Water soak: Remove the block from the bag (or open the bag wide). Submerge the block fully in 50–55°F water for 12–24 hours. A cooler with ice-adjusted water works perfectly. The cold temperature + moisture absorption both trigger the pinning response.
Method 2 — Cool space: Move the colonized block to a space that reaches 50–60°F overnight — a garage, cool basement, or a cooler left open near a vent. Less dramatic than a full soak but effective if you don’t want to handle a wet block.
After cold shock, return the block to fruiting conditions immediately.
Post-cold shock fruiting environment:
– Temperature: 55–65°F (cooler than most oyster species)
– Humidity: 80–90% RH — maintain with regular misting of the fruiting chamber walls, not directly on the forming pins
– Fresh air exchanges: 4–6 per day
– Light: 12 hours of indirect light signals directionality for cap development
Within 5–7 days of cold shock, you’ll see small brown bumps forming — these are shiitake pins emerging from the casing layer. They grow steadily and predictably.
Harvest when the cap edge is still slightly curved downward and the veil underneath is just beginning to stretch or tear. At this stage the cap diameter is typically 3–5 inches and the mushroom is at peak flavor and texture. Grip the stem close to the substrate and twist gently to snap it off cleanly at the base. Remove any remaining stem stubs to prevent contamination points.
After the first flush, rest the block for 7–10 days, rehydrate (soak or heavy misting), and initiate another cold shock. Three to four flushes are typical, with a total yield of 200–300g per flush in good conditions.
Log cultivation is shiitake in its most traditional form — and one of the most satisfying long-term projects a grower can take on. You’re working with natural biology across seasons, and the reward is years of production from a single investment of time and plug spawn.
The best log species for shiitake: oak (best), followed by maple, alder, and other hardwoods. Avoid conifers — the resin compounds inhibit mycelium colonization.
Log specifications:
What you need:
– Shiitake plug spawn (100-count from Foxfire)
– 5/16″ drill bit and drill
– Rubber mallet or hammer
– Cheese wax and small brush (or wax dauber)
– Heat source to melt wax (candle or portable stove)
Step 1 — Mark your drill pattern. Rows should run the length of the log, spaced 6 inches apart. Within each row, drill holes every 2 inches, staggered or in a diamond pattern relative to adjacent rows. A typical 4″ x 40″ log holds 50–80 holes. More holes = faster colonization.
Step 2 — Drill the holes. Use a 5/16″ bit (the standard size for shiitake plug spawn) and drill approximately 1 inch deep. Clear sawdust from each hole.
Step 3 — Insert plug spawn. Place one plug dowel in each hole and tap firmly with a mallet until the plug is flush with or slightly below the bark surface. Work quickly — exposed plugs can dry out.
Step 4 — Seal with wax. Melt cheese wax and apply a dab over each inoculated hole immediately. This seals out competing organisms and retains moisture around the plug. Seal thoroughly — gaps invite contamination. Also seal the cut ends of the log with a thicker wax application.
Step 5 — Label and store. Mark the inoculation date on the log. Store in a shaded, humid location — stacked loosely in a “log yard” under a shade structure, or leaning against trees or a fence in a protected north-facing location. Avoid direct sun, which dries logs rapidly. In Colorado, stack logs off the ground on pallets or rails to allow air circulation and discourage competing fungi from wicking in through ground contact.
The colonization period for outdoor shiitake logs is 12–18 months before first fruiting. During this time:
You’ll know colonization is progressing when you see white mycelium visible at the cut ends of the log, or occasionally between the bark and wood.
Once logs are fully colonized (typically 12–18 months post-inoculation), natural fall conditions — rain, cooler temperatures — may trigger spontaneous fruiting. You can also trigger on demand by:
1. Cold water soaking: Submerge the log in cold (50–55°F) water for 12–24 hours, just as with indoor blocks
2. Impact method: After soaking or after rain, strike the log firmly on the ground 2–3 times — this mimics the physical shock of a fallen tree and triggers fruiting response
3. Natural weather events: A good soaking rain followed by temperatures dropping to 55–65°F will often trigger spontaneous flushes on their own
Expect 2–3 fruiting flushes per year on established logs, typically in spring and fall in Colorado.
Colorado’s Front Range climate offers excellent conditions for outdoor shiitake, with some important timing considerations:
| Month | Activity |
| February–March | Source and cut logs (fresh hardwood); order plug spawn |
| March–April | Primary inoculation window — temps above freezing, before bud break |
| April–October | Colonization phase — water logs if needed, maintain shade |
| October–November | Watch for first spontaneous fall flushes (if logs are colonized) |
| November–March | Logs overwinter naturally; mycelium is dormant but fine |
| Following Spring | First confirmed fruiting from logs inoculated the previous year |
The dry Colorado climate means irrigation matters more here than in humid regions. Don’t rely on rain alone in summer — a consistent watering schedule through July and August keeps colonization on track.
When to harvest: When the partial veil under the cap is just beginning to stretch or tear — not after it has fully opened. The cap edge should still be slightly curved downward. Open caps are not ruined, but they have a shorter shelf life and slightly reduced flavor intensity. Snap or cut at the base of the stem; a knife gives a cleaner wound on log-grown mushrooms.
Fresh storage: Place in a paper bag (not plastic) in the refrigerator. Use within 5–7 days. Shiitake holds up better than oyster mushrooms but still appreciates prompt use.
Drying: Shiitake is exceptional when dried. Slice caps 1/4″ thick and arrange on a dehydrator rack at 95–105°F for 6–8 hours, or until fully crisp with no pliable spots. Properly dried shiitake stores in an airtight container for 12+ months. The drying process concentrates glutamates and creates a flavor depth that exceeds even fresh mushrooms for cooking applications.
Rehydrating dried shiitake: Soak in warm (not boiling) water for 20–30 minutes. Use the soaking liquid in your recipe — it’s intensely flavorful and would be a waste to discard.
Shiitake is one of the most versatile culinary mushrooms in the world. A few principles:
Remove the stems for most applications. Shiitake stems are fibrous and chewy even when fully cooked — most cooks reserve them for stock, where they contribute deep umami to broths, and use caps for the main dish.
High heat develops flavor. Like most mushrooms, shiitake sears beautifully in a hot, dry pan. Let moisture evaporate before adding fat; then add butter or oil and cook until the caps are golden and slightly caramelized.
Use dried shiitake in long-cooked dishes. Ramen broth, Japanese dashi, Korean doenjang jjigae, Chinese red-braised pork — all benefit enormously from dried shiitake. Rehydrate and add both the mushroom and the soaking liquid to the pot.
For full recipes and cooking technique guides, we’ll be publishing a series of species-specific recipe articles throughout Wave 4.
Shiitake is a slower colonizer than oyster mushrooms by nature — 8–12 weeks for a supplemented hardwood block is normal, not a problem. Check that temperature is staying in the 68–78°F range. If the block has visible green or black patches, that’s contamination, not slow colonization. For contamination prevention strategies, see our Contamination Prevention guide.
First, confirm the block is fully colonized — that brown casing layer should be visible on the exterior. If the block still looks white-cream throughout without surface browning, it’s not ready. Give it more time.
If the block has browned and you’ve given it a proper cold soak (50–55°F for 12–24 hours), increase humidity in the fruiting environment and ensure temperatures are in the 55–65°F range. Shiitake won’t pin well above 70°F. A second cold shock can sometimes restart the process.
Trichoderma (green mold) is the most common contaminant on supplemented hardwood blocks. Causes: inadequate sterilization, contaminated spawn, or inoculation in an unclean environment. A small localized spot on the outer surface can sometimes be cut away; widespread green throughout the block means the grow is lost. Review your sterilization and sterile technique. See our Colonized vs. Sterilized Spawn guide for context on why sterilization is non-negotiable for supplemented substrates.
Either harvested too late or high humidity without adequate air exchange. Mushrooms that begin to deteriorate on the block — soft, dark, wet — should be removed promptly. Improve FAE and reduce ambient humidity slightly. Future flushes should come in cleaner.
Check log moisture — lift the log. A dry, light log needs rehydration. Soak for 24 hours and move to a shadier, moister location. Also confirm species: not all hardwoods colonize at the same rate. Oak logs that are fully sound may simply need more time. Strike the log on the ground after soaking to provide mechanical stimulus.
| Growing Method | Foxfire Product | Notes |
| Indoor blocks (from ready spawn) | Colonized Grain Spawn — 3lb or 6lb | Mix into sterilized Oak Soy Hull substrate |
| Indoor blocks (DIY from LC) | Sterilized Grain Bags (3lb/6lb) + LC Syringe | Inoculate grain first, then transfer to substrate |
| Indoor blocks (substrate) | Oak Soy Hull Substrate Bags | Ideal supplemented hardwood blend for shiitake |
| Outdoor log inoculation | Plug Spawn — 100-count | 50–100 plugs per log depending on size |
| Substrate bulk | CVG 10lb bulk | Oyster species; not the primary choice for shiitake |
Everything ships from Longmont, Colorado, backed by our 30-day money-back guarantee.
For help choosing between colonized grain spawn and sterilized bags, our Colonized vs. Sterilized Grain Spawn article explains the trade-offs clearly.
From our facility in Longmont, Colorado, we ship shiitake grain spawn, plug spawn, and liquid culture to growers across Colorado and beyond. Whether you’re setting up your first indoor block or inoculating a row of oak logs for years of production — we have the products and the knowledge to help you succeed.
30-day money-back guarantee on every order.
Shiitake Colonized Grain Spawn (3lb / 6lb) →
Shiitake Plug Spawn (100-count) →
Shiitake Liquid Culture Syringe (10ml) →
It depends on what you want. Indoor blocks produce mushrooms in 10–12 weeks with predictable control — great for year-round production in smaller quantities. Outdoor logs require 12–18 months of patience but produce for 4–7 years without restocking, and many growers find the flavor of log-grown shiitake noticeably superior. Most serious shiitake growers end up doing both.
A well-maintained shiitake log inoculated with good hardwood and quality plug spawn can produce 2–3 fruiting flushes per year for 4–7 years before the wood is exhausted. Larger-diameter logs last longer. Total production over the life of a log can be substantial — log cultivation is a genuine multi-year investment with compounding returns.
Yes — and Colorado’s climate is actually well-suited for shiitake log cultivation. The spring and fall temperature swings (55–65°F) align with shiitake’s preferred fruiting range naturally. The main management challenge is Colorado’s low humidity and intense sun, both of which require attention (shading and watering) during the colonization phase. In Boulder County and along the Front Range, we routinely support growers who are producing excellent log-grown shiitake.
55–65°F is the optimal fruiting range. Shiitake will not reliably fruit above 70°F. If your grow space is warmer, you either need to cool it down or wait for natural cooler weather (for outdoor logs). This cooler fruiting preference is one of the key differences between shiitake and oyster mushrooms.
The most common reasons: (1) the block isn’t fully colonized yet — wait for the brown casing layer to develop; (2) fruiting temperature is too warm — get to 55–65°F; (3) the cold soak wasn’t cold enough — water should be 50–55°F, not just “room temperature cool”; (4) the block is too dry — it should absorb water during the soak. Try a 24-hour soak with colder water and move to a cooler fruiting space.
Not strictly necessary — shiitake will fruit on plain oak sawdust — but supplementation makes a significant difference in yield, flush density, and total production from a block. The soy hulls or wheat bran provide nitrogen that the mycelium uses to build denser, heavier fruiting bodies. For the extra effort of adding supplementation and running proper sterilization, the yield improvement is well worth it.
Harvest when the partial veil (the thin membrane connecting the cap edge to the stem, visible on the underside) is just beginning to stretch taut or shows the first small tears — but before it fully ruptures. The cap should still be slightly cupped at the edges. At this stage, shiitake flavor and texture are at their best. Waiting until fully open caps increase shelf life but reduce flavor intensity slightly.
Share this article
Grab a beginner-friendly kit and apply what you just read —
or take the quiz and we’ll match you to the right
starting point.
