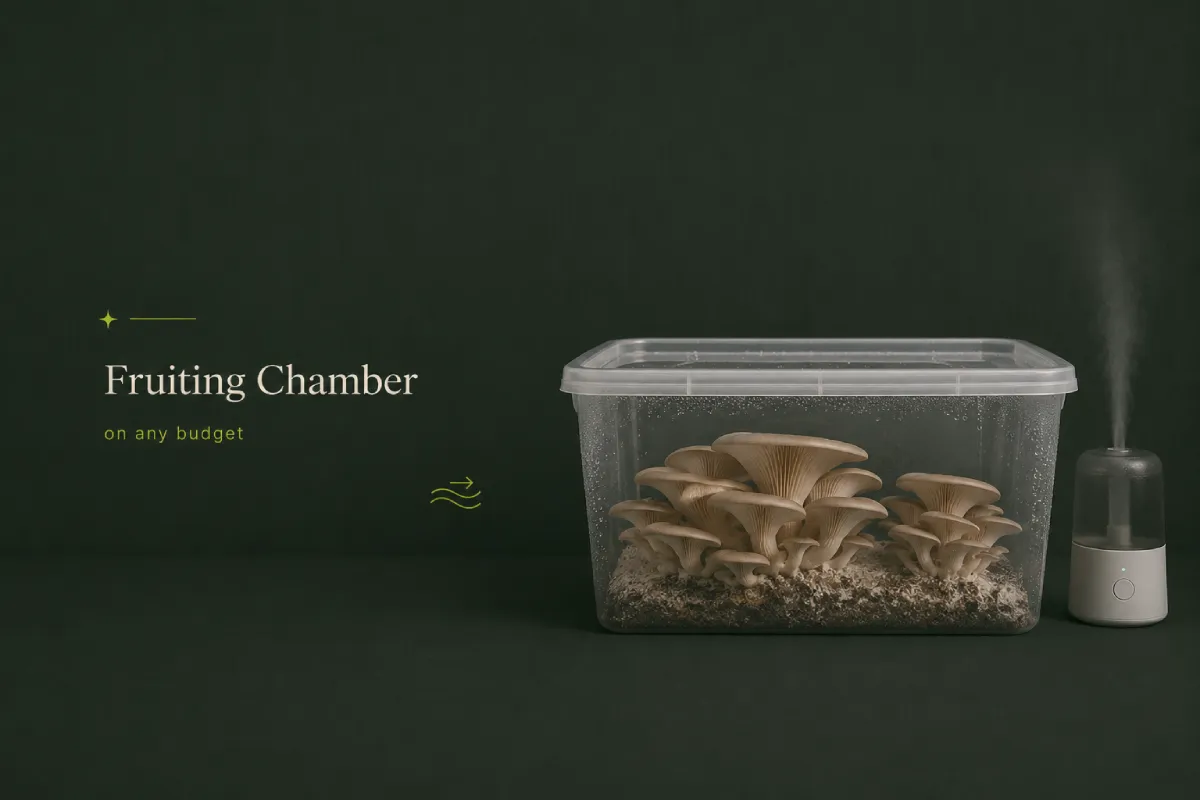
A mushroom fruiting chamber is any enclosed or semi-enclosed space where mushroom blocks or bags are kept at high humidity (85–95%) with regular fresh air exchange (FAE) to trigger and support pinning and fruiting. The right setup depends entirely on your scale, budget, and how automated you want things to be — and you can get started for as little as $0 if you already own a spray bottle. At Foxfire Mushrooms in Longmont, Colorado, we work with growers at every level, from first-time grow kit users to serious hobbyists running dozens of blocks per week. This guide covers four complete setup options so you can find your fit and start fruiting.
At its core, a fruiting chamber is just an environment you control. Mushrooms that have finished colonizing a substrate — whether that’s a grow kit bag, a hardwood sawdust block, or a grain bag — need two things to produce fruit bodies: sustained high humidity and fresh air. A fruiting chamber is whatever container, tent, or room you use to provide those conditions reliably.
The simplest fruiting chamber is a cardboard box with a plastic bag draped over it and a spray bottle nearby. The most sophisticated version is a climate-controlled room with automated humidification, ventilation timers, and environmental sensors. Neither is inherently better — the right fruiting chamber is the one that matches your current scale and how much time you want to spend on manual maintenance.
If you’re reading our beginner’s guide to growing mushrooms, you already know that most beginners start with a grow kit that includes its own basic fruiting setup. As you grow more blocks and want higher yields, you’ll outgrow that approach quickly. This guide is your next step.
Every fruiting chamber decision — from a $5 tote to a $300 grow tent — is really just a different answer to the same two questions: How do I maintain humidity? and How do I manage CO2?
Mushroom fruit bodies are roughly 90% water. Without adequate atmospheric humidity, the developing pins dry out before they can form caps, or caps crack and become misshapen. The target range for most gourmet species is 85–95% relative humidity in the fruiting environment. Below 80%, you’ll see stunted growth and cracked caps. Above 95% with poor airflow, you risk bacterial blotch and puddles of standing water.
Colorado’s dry, semi-arid climate makes this especially important. At Foxfire Mushrooms’ home base of Longmont — sitting at nearly 5,000 feet elevation — ambient humidity often runs 20–40% indoors. Your fruiting chamber needs to work harder here than it would in a humid coastal climate. When sizing any humidification equipment, plan to size up about 20% from the manufacturer’s recommendation.
During colonization, mycelium produces CO2 as a byproduct of metabolic activity. That’s fine during the colonization phase when blocks are sealed. But when you move a block into fruiting conditions, excess CO2 actively suppresses pinning. High CO2 tells the mycelium that it’s still buried deep and sheltered — not time to fruit yet.
FAE means introducing fresh air into the fruiting environment to keep CO2 levels below approximately 1,000 ppm. In practice, this means fanning your fruiting chamber, leaving gaps for passive airflow, or running a small ventilation fan on a timer. The most visible sign of CO2 problems is long, leggy pins with small caps — the mycelium is literally reaching upward toward fresher air. More FAE (not more humidity) is the fix.
Best for: Absolute beginners with a single grow kit.
This is the simplest possible fruiting setup, and it works well for grow kits. When you receive a Foxfire Mushrooms grow kit, the block is already fully colonized. You just need to manage the fruiting environment.
What you need:
How it works:
Open or score the grow kit block according to the instructions. Mist the exposed surface and the inside walls of the tent bag 2–3 times daily with clean, room-temperature water. Leave the bag partially open or propped open a few inches to allow FAE — this is your passive ventilation. Place the kit in a spot with indirect light and ambient room temperature appropriate for the species.
Limitations: This method is labor-intensive (you need to be home and attentive twice a day) and humidity is inconsistent. It works for kits but is impractical for loose blocks you’ve prepared yourself. It’s also harder to hit the 85–95% humidity target consistently without a more enclosed environment. For a single kit though? It works, and it costs almost nothing.
Best for: Beginners with 1–3 blocks who want better humidity control without spending much.
The Shotgun Fruiting Chamber is one of the most-proven DIY fruiting setups in home cultivation. It’s been around for decades and still works beautifully at small scale.
What you need:
Step-by-step build:
What to expect: Passive evaporation from the perlite combined with regular misting holds humidity at 80–90% inside the chamber — close to but often slightly below the 85–95% ideal. It’s an excellent starting point. For Colorado’s dry climate, you may need to mist more frequently.
Cost breakdown: Tote ($10–15) + perlite ($5–10) + drill bit ($3 if needed) = $15–28 total.
Best for: Serious hobbyists running 4–12 blocks simultaneously who want automation.
The “Martha” setup gets its name from the Martha Stewart wire shelving racks sold at home goods stores — the same tiered wire shelf that she’d use for a pantry. Growers discovered that draping a greenhouse humidity tent over the rack creates a nearly perfect fruiting environment, especially when paired with a small humidifier.
What you need:
Setup:
Place the wire rack inside the greenhouse tent. Position the humidifier misting nozzle at the base or lower shelf, aimed upward into the tent. Hang or clip the hygrometer inside at mid-shelf height so you’re reading the actual fruiting environment humidity, not ambient room humidity. Position the small fan near the top of the tent with the zipper open a crack, and put it on a timer set to run for 5 minutes every 2 hours — this is your FAE.
What to expect: A properly configured Martha tent holds 85–95% humidity automatically as long as you top off the humidifier reservoir every 1–3 days. The timer-controlled fan handles FAE without you lifting a finger. You can run 8–12 blocks simultaneously on the multiple shelf levels. This is genuinely the sweet spot for home cultivation — mostly automated, affordable, and capable enough to support serious production.
Best for: Growers running 20+ blocks, interested in scaling toward a micro-farm.
A dedicated hydroponics grow tent (2×2, 2×4, or 4×4 feet) gives you a light-proof, reflective-interior, zip-close environment designed for exactly this kind of controlled cultivation. Paired with proper automation equipment, this setup runs itself.
What you need:
How it works: The humidity controller keeps a probe inside the tent and triggers the humidifier automatically when humidity drops below your setpoint (set to 90%). The inline fan runs continuously at low speed to maintain FAE — CO2 exhausted out, fresh air pulled in through passive intake holes at the tent base. The carbon filter handles mushroom smell, which becomes significant at scale.
Colorado altitude note: Longmont sits at approximately 4,979 feet. This has no meaningful impact on colonization or fruiting chemistry — mushrooms don’t care about atmospheric pressure the way baked goods do. What does matter is that Colorado’s dry climate puts extra strain on humidification equipment. Size your humidifier output up by about 20% from what indoor humidity calculators suggest for your tent volume.
At this scale, refer to our guide on mushroom colonization times to stagger your inoculation batches and keep your tent full and productive on a rolling harvest schedule.
| Setup | Humidity Control | FAE Method | Blocks Capacity | Cost | Automation | Best For |
| Spray Bottle | Manual misting 2–3x/day | Passive (bag left open) | 1 grow kit | $0–5 | None | Absolute beginners with 1 kit |
| Shotgun (SGFC) | Perlite + misting 2–3x/day | Manual fanning 2x/day | 1–3 blocks | $15–28 | None | Beginners with a few blocks |
| Martha Tent | Ultrasonic humidifier on timer | Small fan on timer | 8–12 blocks | $80–150 | Partial | Serious hobbyists |
| Full Grow Tent | Humidifier + humidity controller | Inline fan (continuous) | 20–30+ blocks | $150–300+ | High | Scaling growers and micro-farms |
Temperature requirements vary meaningfully by species. Running your fruiting chamber at the wrong temperature won’t kill your mushrooms but will dramatically slow or suppress fruiting.
| Species | Colonization Temp | Fruiting Temp | Notes |
| Blue Oyster | 70–77°F | 55–65°F | Prefers a cold shock to initiate pinning |
| Pink Oyster | 75–85°F | 75–85°F | Needs warmth throughout — not suitable for cold basements |
| Lion’s Mane | 70–75°F | 65–75°F | Sensitive to drafts; keep FAE gentle |
| Shiitake | 68–78°F | 55–75°F | Requires cold shock (50–60°F for 12–24 hrs) to trigger pinning |
| King Oyster | 65–75°F | 55–65°F | Slow but rewards patience; prefers cool fruiting |
| Reishi | 75–85°F | 75–85°F | Needs consistent warmth; beautiful but slow |
Colorado’s cool basement temperatures in fall and winter can actually be an advantage for cold-loving species like Blue Oyster and Shiitake. In summer, moving your fruiting chamber to the basement can provide natural temperature management.
Mushrooms do not photosynthesize. They don’t need light the way plants do. However, light does serve as an environmental cue for directionality — mushrooms grow toward diffuse light sources, which is why pins that develop in the dark tend to etiolate (stretch out) and caps may orient oddly.
What works well: Indirect natural light from a nearby window, or a basic LED shop light on a 12-hour on/12-hour off timer. Neither intensity nor spectrum matters much — mushrooms aren’t picky about light quality.
What to avoid: Direct sunlight hitting the blocks. Prolonged direct sunlight heats the surface of the block, dries it out quickly, and can bleach or damage developing pins. Keep it indirect and ambient.
The practical answer: Place your fruiting chamber in a room that gets some ambient daylight, or add a simple LED strip light on a timer if your setup is in a windowless basement. The 12/12 light cycle helps with pin orientation but is not strictly required for healthy fruiting.
Whether you’re setting up your first Shotgun Fruiting Chamber or dialing in a Martha tent for a dozen blocks, Foxfire Mushrooms has everything you need to get growing.
Foxfire Mushrooms — 426 Crystal Place, Longmont, Colorado 80504. All spawn and grow kits backed by our 30-day guarantee.
Not a dedicated one. Most Foxfire grow kits are designed to be fruited with a simple spray bottle and a plastic bag tent. The kit’s own bag often serves as a basic fruiting chamber. As you advance beyond kits to prepared blocks, a proper fruiting chamber becomes important.
Most gourmet mushroom species fruit best at 85–95% relative humidity. Below 80%, pins develop slowly and caps may crack. Above 95% with poor airflow, the block surface stays too wet and bacterial contamination becomes a risk. Aim for 88–92% as a practical target.
For a Shotgun Fruiting Chamber, manual fanning 2 times per day for 30–60 seconds each time is the minimum. For a Martha tent, a small fan running on a 5-minutes-on / 2-hours-off timer handles FAE automatically. The goal is to prevent CO2 accumulation above approximately 1,000 ppm.
Yes, a glass or acrylic fish tank works as a fruiting chamber, especially for small-scale fruiting. Cover the top partially with a pane of glass or plastic to trap humidity, leaving a gap for FAE. Mist the walls regularly. The main disadvantage is that glass tanks don’t have a way to add a humidifier easily, so you’re relying on manual misting. It works fine for 1–2 blocks.
The Shotgun Fruiting Chamber (SGFC) at $15–28 is the cheapest setup that provides real humidity control and FAE without requiring you to check in every few hours. The spray bottle method costs less but is more labor-intensive and less consistent. If you already have a drill and can spend $20 at a hardware store, build an SGFC.
Three layers of approach: First, choose an enclosed fruiting chamber (not an open shelf). Second, add perlite to the bottom of your SGFC, or use an ultrasonic humidifier in a Martha tent or grow tent. Third, mist more frequently than guides written for coastal climates suggest — Colorado’s baseline humidity of 20–40% indoors means your fruiting chamber has to work harder than the same setup in, say, Seattle. Size humidification equipment up by about 20% from recommendations.
Share this article
Grab a beginner-friendly kit and apply what you just read —
or take the quiz and we’ll match you to the right
starting point.
