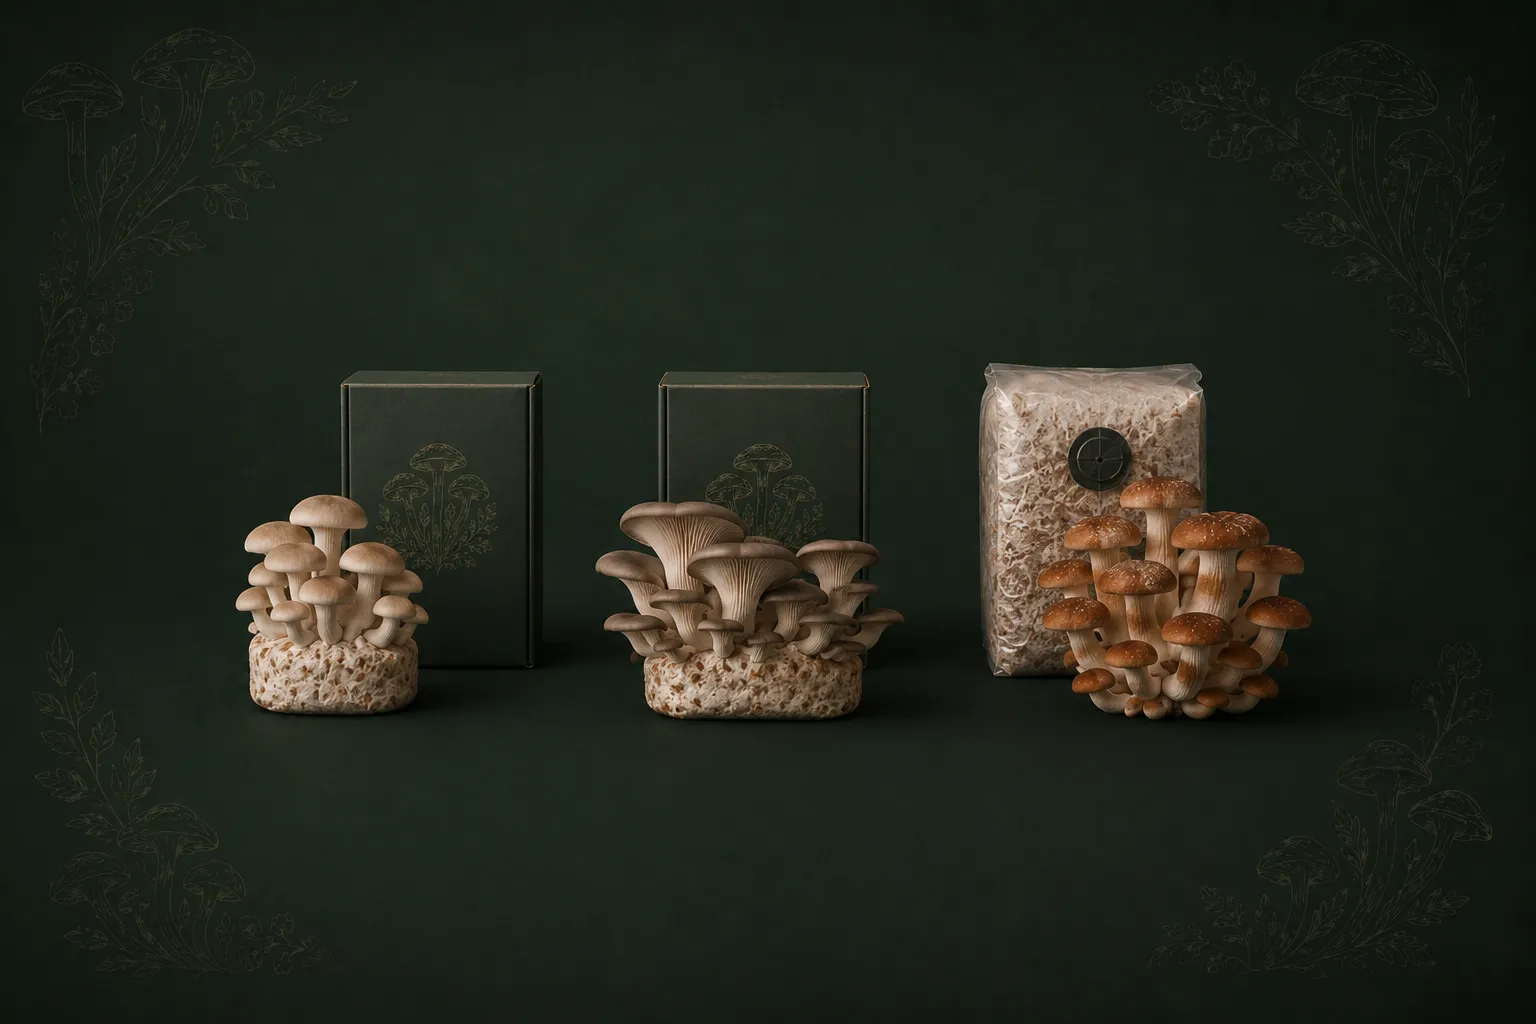
A mushroom grow kit is the fastest, easiest way to start growing — no sterilization, no spawn prep, no equipment required. For complete beginners, we recommend the Lion’s Mane kit for its forgiving nature and impressive results; for those who want speed and prolific harvests, the Blue Oyster kit pins in as few as 5 days; and for warm-climate growers who want the most visually dramatic experience, the Pink Oyster kit is in a class of its own.
At Foxfire Mushrooms in Longmont, Colorado, we’ve designed our grow kits to give you the best possible first (and second, and third) harvest. This guide walks through exactly what’s in our kits, how each species behaves, and how to know when you’re ready to graduate to bulk cultivation.
Not sure which kit to buy? Here is the quick guide to finding your perfect match:
| Your Situation | Best Kit |
| Complete beginner, want reliable results | Lion’s Mane |
| Want mushrooms as fast as possible | Blue Oyster |
| Growing somewhere warm (70–85°F) | Pink Oyster |
| Love cooking and want culinary variety | Lion’s Mane or Blue Oyster |
| Want the most visually striking harvest | Pink Oyster |
| Cool basement or garage growing space | Blue Oyster |
All three kits are suitable for beginners. The core differences come down to temperature preference, fruiting speed, and culinary character. If you genuinely can’t decide, go with Lion’s Mane — it is our most forgiving kit and produces the most rewarding first harvest.
A mushroom grow kit demystifies what would otherwise require a pressure cooker, bulk spawn, specialized substrates, and sterile laboratory technique. Here is exactly what you are getting in your box:
There is zero incubation phase for you to manage — our team has already guided the mycelium through its establishment work. Your job begins right at the fruiting stage, meaning you start seeing results within days of opening the box.
Hericium erinaceus — the species behind our Lion’s Mane kit — is one of the most beloved gourmet mushrooms in the world, and for good reason. The fruiting body looks nothing like a conventional cap-and-stem mushroom; it grows as a cascading white mass of soft spines, resembling a polar bear’s paw or a lion’s mane. The flavor is mild and slightly sweet, with a tender texture that wonderfully mimics crab or lobster meat when sautéed in butter.
Ideal For: Complete beginners, culinary enthusiasts, and anyone growing in a standard, temperature-controlled indoor space.
For deep details on cultivation, flavor profiles, and nutritional components, see our Lion’s Mane Mushroom Guide.
Pleurotus ostreatus var. columbinus — the Blue Oyster mushroom — is the ultimate workhorse of gourmet mushroom cultivation. It grows remarkably fast, fruits aggressively, and produces stunning, stacked clusters of steel-blue to slate-grey caps with white gills and thick, meaty stems.
Ideal For: Growers with cool indoor spaces, anyone wanting the fastest possible results, and those who want to cook frequently with homegrown mushrooms.
For detailed Blue Oyster cultivation guidance, see our Blue Oyster Mushroom Growing Guide.
Pleurotus djamor — the Pink Oyster — is the boldest, most vibrant kit in our entire lineup. The fruiting bodies showcase a vivid coral-to-salmon pink coloration, growing in dense, overlapping shelves that mimic a tropical rainforest. Because it is a tropical species native to warm climates, it thrives in the summer heat that other Oysters merely tolerate.
A Note of Candor: Pink Oyster is forgiving in warm rooms but can stall out dramatically if your space drops below 65°F. If you are unsure about your baseline room temperatures, reach for the Lion’s Mane or Blue Oyster kit first.
Ideal For: Warm-climate growers, summer indoor projects, and anyone looking for a high-contrast, fast-paced visual harvest.
You have successfully harvested your first kit. You watched the pins emerge, harvested at the peak moment before the cap margins flattened, and cooked a stellar dinner. If you are like most growers, you want to scale up.
The most natural progression is to run multiple kits simultaneously. Staggering two kits by two weeks establishes a continuous harvest rotation, ensuring you are almost always just a few days away from a fresh culinary picking.
Grow kits are a gateway, not a ceiling. You’re probably ready to try bulk cultivation when:
– You’ve harvested 2+ flushes from a kit and want more yield per dollar
– You’re curious about the full cultivation process — inoculation, colonization, fruiting
– You want to grow species not available as grow kits (Wine Cap, Reishi, Chicken of the Woods)
– You’re spending enough on kits each month that buying spawn and substrate would be cheaper
Bulk cultivation with colonized grain spawn and a substrate bag costs roughly half as much per pound of mushrooms as grow kits — with a learning curve that most people clear in one or two grows.
Our Grain Spawn vs. Sawdust Spawn guide explains the base materials, while our Colonized vs. Sterilized Grain Spawn guide walks you through lab inoculation choices. To review the full landscape, browse our complete Mushroom Cultivation Supplies Buying Guide.
Not all grow kits on the market are built equal. Here is what separates a professional, high-yielding block from a disappointing one:
At Foxfire Mushrooms in Longmont, Colorado, we grow our kits in-house. We control the process from spawn to shipping — there’s no middleman, no aging warehouse inventory.
A few things we do that matter:
Colorado water. We’re at 4,979 feet elevation, and our water — used to hydrate substrates and maintain our fruiting environment — is clean Rocky Mountain tap water. It’s what we’ve tuned our substrate recipes around.
Verified sterilization. Our substrate is autoclaved at 15 PSI with a validated cycle. We don’t cut corners on sterilization time to move product faster.
Fresh colonization. We don’t stockpile kits. We colonize to order and ship at peak mycelial activity. That means your kit arrives ready to fruit, not tired.
No additives or artificial colonization boosters. The mycelium in our kits has earned its colonization through a clean, natural process. What’s in the bag is substrate, mycelium, and nothing else.
Every Foxfire grow kit is backed by our 30-day money-back guarantee. If your kit arrives contaminated, damaged, or fails to produce pins under normal conditions, we replace it or refund you — no questions asked.
Your grow block is not spent after a single harvest. You can pull substantial additional yields by following these A grow kit isn’t spent after one harvest. Here’s how to maximize your yield:
Harvest at the right time. For Oyster mushrooms, harvest when caps are fully formed but before the edges start to wave and flatten. For Lion’s Mane, harvest when the spines are well-developed but the body is still firm and white — as it yellows, flavor degrades. Harvesting promptly actually encourages stronger subsequent flushes.
Rehydrate the block. After the first flush, the block has lost significant moisture. Fill the grow bag with cold tap water, submerge the block completely, and let it soak for 4 to 8 hours. Drain fully, then return to fruiting conditions.
Rest between flushes. Give the block 5 to 7 days of rest in its fruiting environment before expecting the next flush. Don’t discard a quiet block too soon — sometimes the mycelium is simply regenerating.
Watch for warning signs. After 3 flushes, blocks typically show signs of exhaustion: slow pinning, smaller clusters, and potential contaminant entry through harvest points. At this stage, it’s time to compost the block (it makes excellent garden amendment) and start fresh.
With good technique, you can expect 2 to 4 productive flushes totaling 1.5 to 3× the block’s dry weight in fresh mushrooms. That’s a meaningful amount of food from a single kit.
For an overarching view of varieties, explore our Best Mushrooms for Beginners overview.
Whether you are starting your very first fungal project or setting up a continuous home harvest rotation, Foxfire Mushrooms delivers professional-grade grow blocks designed for real-world home success.
Every grow kit ships fresh, fully colonized, and backed by our signature 30-day money-back guarantee.
The Lion’s Mane grow kit is our top pick for beginners at Foxfire Mushrooms. It’s forgiving across a wide temperature range (65–75°F), produces visually unmistakable fruiting bodies, and delivers an impressive culinary payoff. If you have a cool growing space (55–65°F), the Blue Oyster kit is an equally excellent choice and fruits faster.
Most Foxfire grow kits produce first pins within 5 to 14 days of initiating fruiting. Blue Oyster and Pink Oyster are the fastest, often pinning in 5 to 7 days. Lion’s Mane typically takes 7 to 14 days. These timelines assume appropriate temperature and humidity conditions.
No. You need a spray bottle of clean water and a location with indirect light and stable temperature. A hygrometer (under $15 at any hardware store) is helpful but optional. No pressure cooker, no sterilization, no special tools.
Most Foxfire grow kits produce 2 to 4 flushes. The first flush is typically the largest. After each harvest, soak the block in cold water for 4 to 8 hours, drain, and return to fruiting conditions. Expect each subsequent flush to be slightly smaller than the previous one.
Yes, though the right species depends on your kitchen temperature. If your kitchen runs 65–75°F, Lion’s Mane is excellent. If it’s warmer (70–85°F), Pink Oyster is ideal. Blue Oyster prefers cooler conditions (55–65°F) and may fruit slowly in a warm kitchen. A basement or cool closet is often the best spot for Blue Oyster.
A grow kit is fully colonized and ready to fruit — you open it and grow. Grain spawn is the inoculant you’d use to colonize your own bulk substrate. Grow kits are ideal for beginners; grain spawn is for growers ready to control the full cultivation process and produce larger volumes at lower cost per pound. Our Mushroom Cultivation Supplies Buying Guide explains both paths in detail.
Share this article
Grab a beginner-friendly kit and apply what you just read —
or take the quiz and we’ll match you to the right
starting point.
