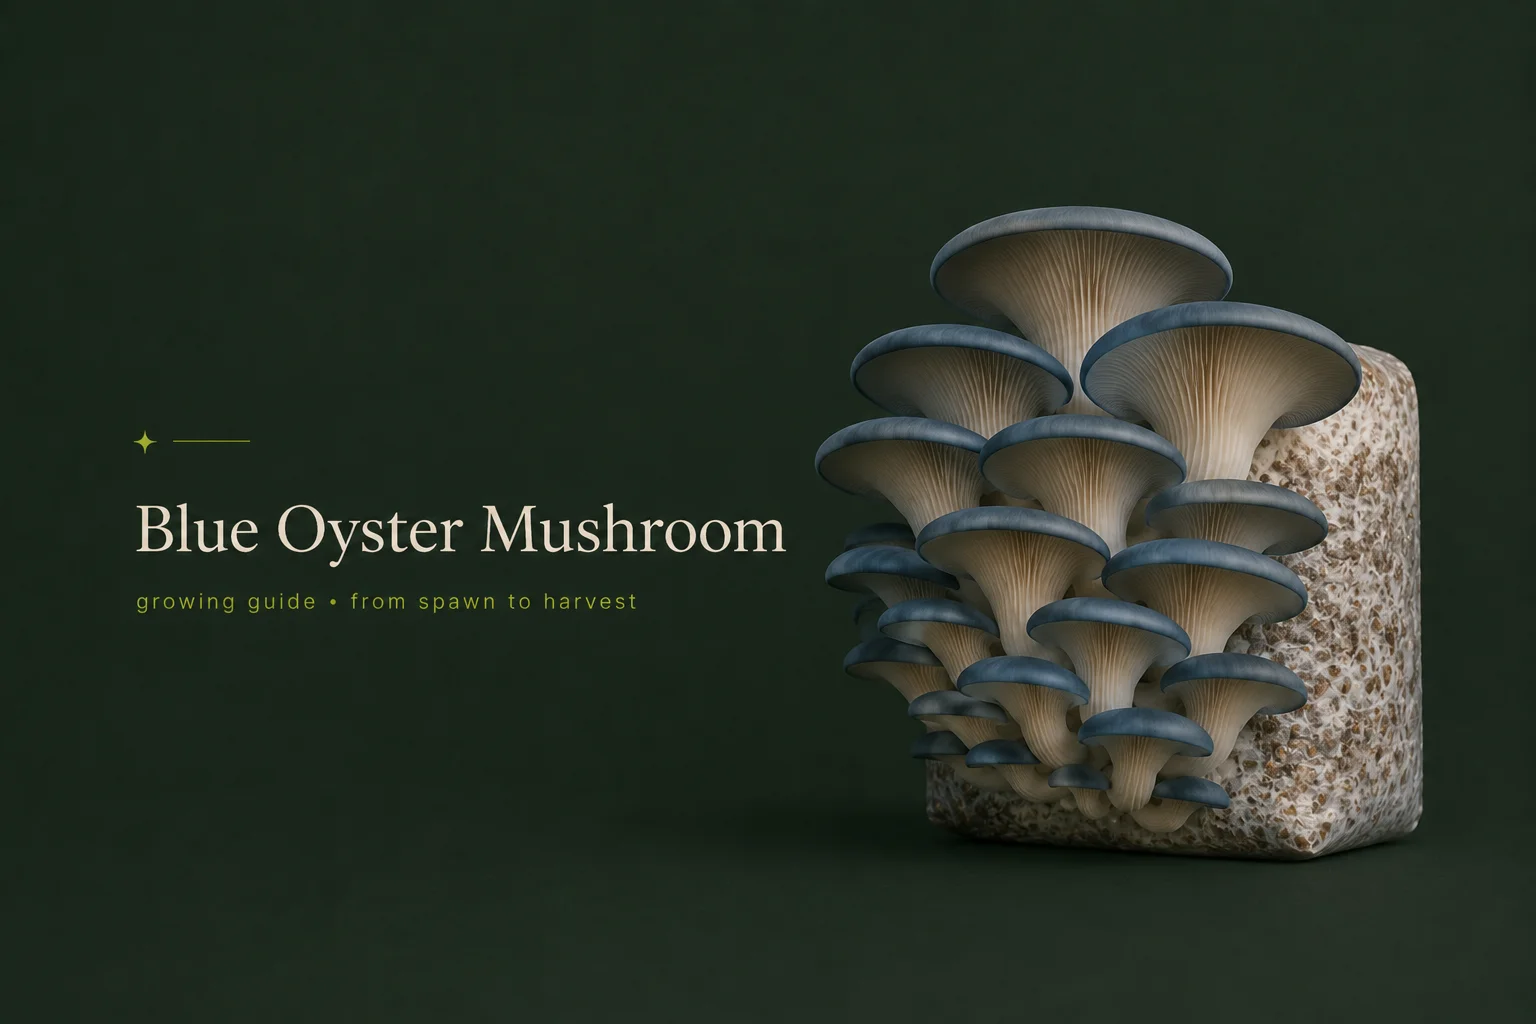
Blue oyster mushroom (*Pleurotus ostreatus*) is the most widely cultivated oyster species in the world, and for home growers it earns that status every time: fast colonization in 7–14 days, forgiving substrate requirements, and dramatic shelf-like clusters that reward the effort with impressive yields. At Foxfire Mushrooms in Longmont, Colorado, it’s our top recommendation for anyone growing their first mushrooms — and a species that experienced cultivators return to again and again for its reliability and kitchen versatility.
Blue oyster mushroom (Pleurotus ostreatus) is a species in the family Pleurotaceae, one of the most cultivated edible fungi on the planet. The common name “blue oyster” comes from the cap color and shape: young fruiting bodies display a striking blue-gray to slate-blue coloration, and the caps are broadly convex and oyster-shaped, growing in overlapping clusters directly from the substrate.
As the caps mature, the color softens to cream or tan — this is normal and not a sign of a problem. What stays consistent is the clustered growth habit, the white gills running down a short, off-center stem, and the mild, earthy aroma that becomes a pleasant savory note in the pan.
Pleurotus ostreatus grows natively on hardwood trees across temperate regions — beech, oak, elm, and poplar are common hosts. In the wild it’s a decomposer, breaking down dead and dying wood. That decomposing capability is why it grows on such a wide range of substrates in cultivation. Blue oyster is aggressive and adaptable, which is precisely what makes it so forgiving.
Flavor profile: mild, slightly earthy, with a meaty bite. It’s less intensely flavored than shiitake and less delicate than lion’s mane — a versatile, all-purpose gourmet mushroom that works in almost any savory dish.
Ask any experienced cultivator what they’d grow first, and blue oyster comes up more than any other species. Here’s why.
Speed. Blue oyster colonizes a substrate block in 7–14 days at 65–75°F — the fastest of any kit species we carry at Foxfire. When you’re learning, faster feedback loops matter. You don’t want to wait 6 weeks to find out whether your technique was right.
Substrate flexibility. Blue oyster will fruit on hardwood sawdust, straw, supplemented grain, coffee grounds (in small batches), and even cardboard. It’s not picky. This forgiveness means your first few runs don’t require perfectly sourced materials.
Prolific yields. A healthy blue oyster block can produce 3–5 flushes, and the clusters are large — often 150–400 grams per flush from a 5lb block.
Forgiving fruiting conditions. While it does have preferences, blue oyster treats a wider band of humidity and temperature variation than lion’s mane. It won’t abort at the first environmental wobble.
Visual drama. There’s something deeply satisfying about watching an oyster cluster emerge and expand over just a few days. It’s one of the fastest-growing fruiting bodies you can observe as a home grower.
For more context on choosing your first species, see our best mushrooms for beginners guide. For the full cultivation framework, our beginner’s guide to growing mushrooms covers everything from setup to harvest.
Blue oyster is forgiving, but it has clear preferences. Get these four variables right and you’ll get consistent, healthy flushes.
Blue oyster is a cool-weather fruiter — a key distinction that surprises some growers who assume it needs warmth.
Cold shock technique: Once your block is fully colonized, move it to a cooler area — a basement, refrigerator exterior, or outdoors on a cool night (above 45°F) — for 24–48 hours at around 55°F. This temperature drop mimics the onset of fall weather and reliably triggers pinning in blue oyster. After the cold shock, return to normal fruiting conditions and watch for pins within 3–5 days.
Colorado’s climate is actually a natural advantage here. If you’re growing in spring or fall, night temperatures in Longmont and across the Front Range often fall right into the blue oyster’s sweet spot without any extra equipment.
Blue oyster is less fussy about humidity than lion’s mane, but it still needs a reasonably humid environment during fruiting.
Fresh air exchange (FAE) is critical for blue oyster — and it’s the variable that most directly shapes what your fruiting bodies look like.
High CO2 concentration causes blue oyster to grow long, thick stems and small, underdeveloped caps. It looks like someone inverted the normal mushroom proportions. Low CO2 (achieved through regular FAE) produces the wide, fan-shaped caps and shorter stems that mean maximum yield and best presentation.
Practical FAE: Fan the grow area or open your tent for 30–60 seconds, 2–4 times per day. If you’re growing in a bag, make sure your fruiting cuts or opening allows for gas exchange. You’ll see the difference in cap development within a day or two of improving FAE.
Like all cultivated fungi, blue oyster doesn’t photosynthesize. But light does serve as an environmental cue.
One of blue oyster’s most grower-friendly characteristics is that it will produce on a wide range of organic materials. That said, quality substrate means better yields.
| Substrate | Performance | Notes |
| Hardwood sawdust + bran | Excellent | Best yields; requires sterilization |
| Straw (wheat or rice) | Very good | Budget-friendly; pasteurization sufficient |
| CVG (coco coir, vermiculite, gypsum) | Good | Clean; low contamination risk |
| Coffee grounds | Moderate | Works for small batches; mix with straw or sawdust |
| Our Oak Soy Hull bags | Excellent | Pre-made, sterilized, ready to inoculate |
For supplemented hardwood substrates (with bran or soy hulls), sterilization is necessary to kill competing organisms. For straw, pasteurization — heating to 160–180°F for 60–90 minutes — is sufficient because the pH and structure of straw don’t support heavy mold growth the way nitrogen-rich supplements do.
For more substrate detail, including how to prepare and sterilize each type, see our mushroom substrate guide.
At Foxfire Mushrooms, we offer two primary inoculation routes for blue oyster.
Colonized grain spawn: Ready-to-use. Mix directly into your substrate at a 10–20% spawn rate by weight. Our blue oyster colonized grain spawn is available in 3lb and 6lb bags. This is the easiest approach and the fastest path to colonization. See our colonized vs. sterilized grain spawn guide for a full comparison.
Liquid culture syringes: Our 10ml liquid culture syringes let you inoculate sterilized grain bags yourself, building your own spawn. Inject 2–3ml per sterilized grain bag. One syringe typically inoculates 4–6 bags. This approach takes more time (you need to colonize the grain first before using it as spawn) but gives you greater scale at lower cost.
Blue oyster is the fastest colonizer of the three grow kit species we carry. At 65–75°F, expect full colonization in 7–14 days.
Healthy blue oyster mycelium is brilliant white and often produces a faint blue-gray pigment at the leading edge of growth — this is completely normal and is actually what gives the species its name. It’s a metabolic byproduct, not contamination.
| Stage | Timeline | What You See |
| Inoculation | Day 0 | Grain spawn distributed throughout substrate |
| Early colonization | Days 3–7 | White mycelium spreading from inoculation points |
| Active colonization | Days 7–12 | Dense white growth; possible blue-gray tinting at edges |
| Full colonization | Days 7–14 | Entire substrate white; block holds shape when squeezed |
| Ready to fruit | Day 14+ | Begin cold shock and fruiting conditions |
If you see green, black, pink, or wet-looking patches at any point — those are contamination. Remove the block from your grow area immediately.
Fruiting is where blue oyster truly earns its reputation. The transformation from colonized block to full cluster happens remarkably fast — often visible change hour by hour in the peak development stage.
After cold shock (24–48 hours at ~55°F), return the block to fruiting conditions: 55–65°F, 80–90% humidity, 12 hours indirect light, and fresh air exchange every few hours. Cut an X-pattern or cross-slit in your bag where you want clusters to emerge — or remove the block from the bag entirely and place on a tray if using an open-fruiting setup.
Pins typically appear within 3–5 days of initiating fruiting conditions post-cold shock.
Once pins set, blue oyster develops quickly. The clusters expand and fan outward, with caps broadening from the center outward over 7–10 days. At peak development, a single cluster can span 8–14 inches across.
Watch the caps. Early in development they’re convex and tight. As they approach maturity they flatten out. The edges begin to ruffle slightly at full maturity.
The most important harvest timing signal: harvest before the caps begin to curl upward at the edges.
Two specific cues to watch:
1. **Cap edge curl:** When the outer edges of the caps begin to turn upward (like a bowl inverting), you’re approaching the window. Harvest as soon as you see this starting.
2. **Spore drop:** Blue oyster releases clouds of white spores as it matures — you’ll see a fine white powder dusting surfaces near your grow area. Harvest *before* this happens. Spore release means the mushroom is beyond peak quality, and the spores can cause respiratory irritation in enclosed spaces.
At Foxfire, we say: harvest on the early side rather than the late side. The yield difference is minimal, and the quality difference is significant.
Blue oyster is one of the most PYRODUCTIVE flush-to-flush species you can grow at home. A well-managed block produces 3–5 flushes before the substrate is depleted.
Between flushes:
1. Harvest completely — remove all tissue from the surface
2. Wipe the fruiting surface clean with a damp cloth
3. Allow the block to rest at colonization temperatures (65–75°F) for 5–7 days
4. Optionally submerge in cold water for 2–4 hours to rehydrate
5. Re-introduce cold shock and fruiting conditions
What changes with later flushes: The clusters may be smaller, and the caps may shift from blue-gray toward brown — this is natural as the substrate depletes. Later-flush oysters are still excellent to eat; the visual presentation just differs from the first flush.
Blue oyster is best eaten fresh within 2–3 days of harvest. It doesn’t hold as long as lion’s mane.
Blue oyster is the most kitchen-versatile mushroom we grow at Foxfire Mushrooms, and it’s one of the easiest to cook well.
Key principles:
Flavor pairings: Blue oyster loves garlic, ginger, soy sauce, butter, lemon, and thyme. It absorbs cooking fats readily and takes on surrounding flavors while still contributing its own earthiness.
Uses:
If you want to branch out from blue oyster into other cultivated species, our lion’s mane mushroom guide is a natural next read — lion’s mane and blue oyster complement each other well in a home grow setup because their fruiting temperature ranges overlap.
At Foxfire Mushrooms in Longmont, Colorado, we have everything you need: blue oyster grow kits, colonized grain spawn in 3lb and 6lb bags, and liquid culture syringes — all ready to ship. Every order comes with our 30-day money-back guarantee.
Shop Blue Oyster Colonized Grain Spawn →
From inoculation to first harvest, expect approximately 3–5 weeks total. Colonization takes 7–14 days at 65–75°F. After initiating fruiting conditions (including 24–48 hours of cold shock), pins appear in 3–5 days and reach harvest size in another 7–10 days. Blue oyster is the fastest-growing kit species we carry at Foxfire Mushrooms in Longmont, Colorado.
Blue oyster (Pleurotus ostreatus) fruits best at 55–65°F (13–18°C). This is cooler than most household living spaces, which is why cold shock — moving a colonized block to 55°F for 24–48 hours — is often used to trigger pinning. Colorado basements and garages in spring and fall often hit this range naturally.
Long stems and underdeveloped caps are a classic sign of high CO2 / insufficient fresh air exchange. Blue oyster responds strongly to CO2 levels. Increase fresh air exchange — fan the area 2–4 times per day or leave a vent open — and you’ll see cap development improve noticeably within 24–48 hours on the next flush.
A healthy, well-managed blue oyster block will typically produce 3–5 flushes before the substrate is depleted. The first flush is the largest. Between flushes, rehydrate the block, allow the mycelium to rest for 5–7 days at colonization temperatures, then re-initiate fruiting conditions with a cold shock.
Yes, blue oyster will grow on coffee grounds, especially in smaller batches or when mixed with straw or sawdust. Pure coffee grounds work for small personal grows but produce lower yields and carry higher contamination risk than hardwood sawdust or straw because of the fine particle size and residual moisture. Mixing coffee grounds at 20–30% with straw or sawdust gives better results.
The white powder is spores — a sign that your mushrooms have reached (or slightly passed) peak maturity. Blue oyster releases spores in large quantities, and it’s a cue to harvest immediately if you haven’t already. The spores are not harmful in small amounts but can cause respiratory irritation for sensitive individuals in enclosed grow spaces. Harvesting before spore drop is ideal both for mushroom quality and grow room comfort.
Share this article
Grab a beginner-friendly kit and apply what you just read —
or take the quiz and we’ll match you to the right
starting point.
