

- Scott Brenton
- 5 min read
The honest framing We grow mushrooms indoors for a living and we do not sell anything foraged. So this page has no commercial interest in
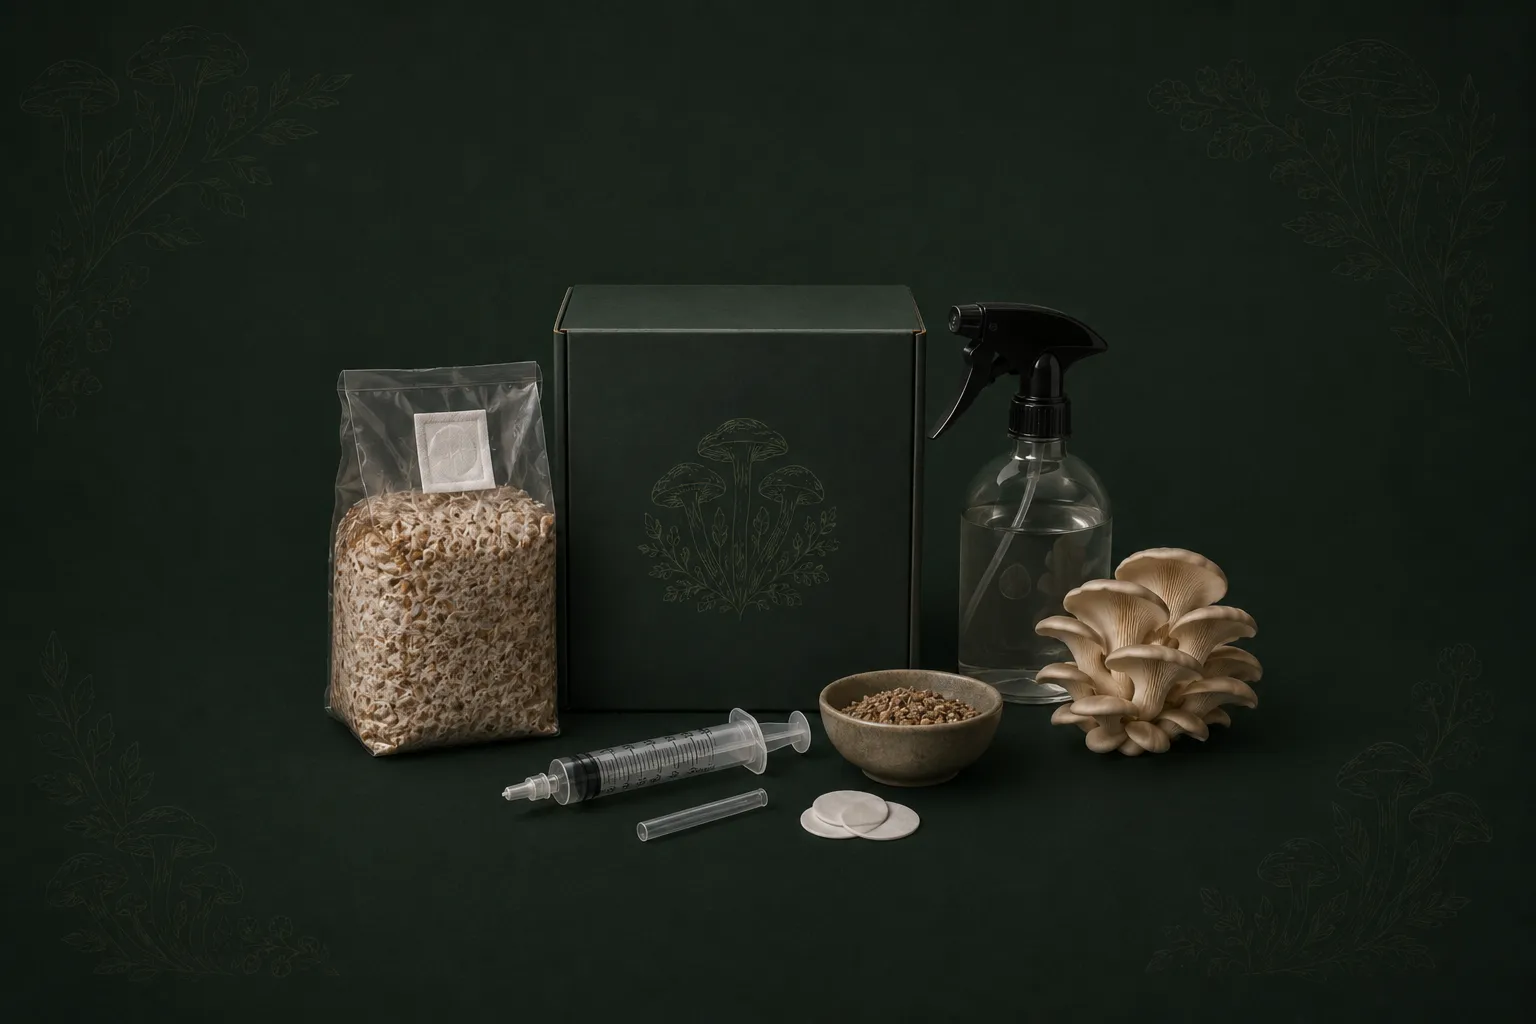
To grow mushrooms at home, you need three core things: spawn (the mushroom mycelium), substrate (the material it grows on), and a fruiting environment (humidity and fresh air). Everything else depends on your approach — and your approach comes down to two paths: a grow kit (simplest, minimal gear) or a DIY build-your-own setup (more control, better economics as you scale). At Foxfire Mushrooms in Longmont, Colorado, we’ll walk you through both paths honestly — including what things actually cost — so you can start growing with confidence.
Let’s cut through the noise. Here are the three non-negotiables for any home mushroom grow:
Everything beyond that depends on which path you take. The two main paths for beginners are:
Our Beginner’s Guide to Growing Mushrooms covers the full growing process. This article focuses strictly on what to buy and how much to budget.
A grow kit is the single most beginner-friendly way to get started. You’re essentially buying a pre-colonized fruiting block that just needs humidity and fresh air to produce mushrooms. There’s no sterile technique involved, no measuring substrate ratios, and no waiting for colonization.
Foxfire grow kits include a fully colonized fruiting block — spawn already mixed into substrate, colonized, and ready to fruit — plus instructions for first-time growers. Our kits are available in Lion’s Mane, Pink Oyster, and Blue Oyster. Each species has slightly different fruiting preferences, but all three are excellent choices for a first grow.
For a full breakdown of what each kit includes and how they compare, see our grow kit buyer’s guide.
The kit handles the hard parts. All you need additionally:
That’s genuinely it for Path A. No pressure cooker. No flow hood. No agar plates.
| Item | Estimated Cost |
| Foxfire Grow Kit (Lion’s Mane, Pink Oyster, or Blue Oyster) | Check current pricing |
| Spray bottle | $3–5 |
| Hygrometer (Optional) | $8–15 |
| Total | Mostly just the kit cost |
For most beginners, a grow kit is the lowest-barrier, highest-success-rate way to get your first harvest on the table.
Once you’re ready to move beyond a single grow kit — or if you want more control over species, substrate, and scale from the start — the DIY path is the right move. It has a slightly higher upfront cost in gear, but the economics improve fast once you’re running multiple blocks.
| Item | Purpose | Notes | Foxfire Option? |
| Colonized Grain Spawn OR Sterilized Grain Bags + LC Syringe | Inoculant — the mushroom mycelium | Colonized = ready to use; sterilized = requires inoculation | Yes — 3lb and 6lb bags |
| Substrate (CVG or Oak Soy Hull) | What the mycelium grows through | CVG works great for oysters; Oak Soy Hull for Lion’s Mane and Shiitake | Yes — 10lb CVG, 9.5lb Oak Soy Hull |
| Unicorn Grow Bags (3T or 4T) | Contain your fruiting block during colonization and fruiting | Self-supporting bags with filter patch for gas exchange | Yes — 10-pack and 50-pack |
| Nitrile Gloves | Reduce contamination during mixing | Disposable; box of 100 runs ~$10–15 | No (Hardware/drug store) |
| Isopropyl Alcohol 70% | Surface sterilization and injection port wipes | Must be 70% — higher concentrations evaporate too fast | No (Drug store) |
| Spray Bottle | Misting fruiting blocks | Wide-mouth works best | No (~$3–5) |
| Hygrometer | Monitor fruiting environment | Digital; aim for 80–95% RH and 65–75°F | No (~$8–15) |
| Still Air Box | DIY sterile workspace for inoculation | A clear plastic storage tote (~18 gallon) with two arm holes cut in the front | No (Hardware store; ~$15–20) |
For more on which substrate to pair with which species, see our mushroom substrate guide. For bag selection details, our Unicorn mushroom bags guide explains the difference between 3T and 4T filter patches.
These items make growing easier and are worth adding over time, but you do not need them to get started:
| Item | Estimated Cost |
| Colonized Grain Spawn (3lb) | Check current pricing |
| Substrate (CVG 10lb or Oak Soy Hull 9.5lb) | Check current pricing |
| Unicorn Bags (3T 10-pack) | Check current pricing |
| Gloves + Isopropyl Alcohol | ~$15 |
| Spray Bottle | ~$5 |
| Hygrometer | ~$12 |
| Still Air Box (DIY from plastic tote) | ~$20 |
| Total (Excluding Spawn + Substrate) | ~$50 in durable gear |
The gear is mostly a one-time cost. After your first grow, your recurring expenses drop to just spawn and substrate.
This is important. The internet has a way of making mushroom cultivation look like it requires a professional laboratory. It doesn’t. Let’s bust a few myths:
For contamination prevention without a lab setup, our mushroom contamination prevention guide covers practical habits that matter far more than equipment.
Your species choice matters for a successful first grow. Some mushrooms are more forgiving than others when it comes to temperature, humidity, and contamination pressure.
Our top three recommendations for beginners — covered in detail in our best mushrooms for beginners guide — are:
Advice for Beginners: Avoid starting with species that require extensive outdoor logs or very specific environmental conditions (like Wine Cap outdoors, or Reishi’s very slow growth) until you’ve had a few indoor grows under your belt.
At Foxfire Mushrooms in Longmont, Colorado, here’s what we suggest based on where you’re starting:
Whatever your starting point, Foxfire Mushrooms in Longmont, Colorado has the supplies to get you there — and our 30-day money-back guarantee means you’re not taking a risk.
The fastest, simplest path to your first harvest.
Ready-to-use spawn for the DIY grower. Pairs perfectly with our substrates and Unicorn bags.
CVG (10lb) and Oak Soy Hull (9.5lb) — pre-hydrated and ready to mix.
A Foxfire grow kit is the lowest total-cost entry point — you need almost no additional gear beyond a spray bottle. For DIY growing, the most economical first setup is colonized grain spawn mixed into pre-made substrate in a Unicorn grow bag, which requires no pressure cooker, no flow hood, and no expensive equipment. Your ongoing costs after the first grow drop to just spawn and substrate.
Not necessarily. If you buy pre-hydrated, sterilized substrate from Foxfire, you can skip the pressure cooker entirely for your first several grows. A pressure cooker becomes necessary only when you want to sterilize your own raw substrate materials (grain, supplemented sawdust, etc.) — which is an intermediate-to-advanced step.
Yes. With a Foxfire grow kit, the only thing you truly need is a spray bottle. For the DIY path using colonized spawn and pre-made substrate, you need a still air box (a DIY plastic tote), gloves, and isopropyl alcohol. None of it requires professional lab equipment.
Very little. A single fruiting block takes up about the footprint of a shoebox — roughly 8″x8″x8″ to 12″x12″x12″. A shelf in a closet or pantry works well. You need enough space to mist daily and allow the growing mushrooms to form without being cramped. A 2×2 grow tent is a popular intermediate upgrade that fits in a corner of any room.
Pink Oyster and Blue Oyster are the most forgiving for first-time growers — they colonize fast, fruit reliably, and tolerate slightly imperfect humidity and temperatures. Lion’s Mane is slightly more demanding but is one of the most popular gourmet mushrooms and worth attempting once you’ve had one successful oyster grow. Our best mushrooms for beginners guide covers each species with specific care details.
Using colonized grain spawn mixed into substrate, expect 2–3 weeks for colonization and then 1–2 weeks to trigger and harvest your first flush — totaling roughly 3–5 weeks from bag to table. Using a grow kit, that timeline compresses to 1–2 weeks from receiving your kit to your first harvest since colonization is already complete.
Share this article
The honest framing We grow mushrooms indoors for a living and we do not sell anything foraged. So this page has no commercial interest in

The farm tour Forty-five minutes, walking the whole cycle in the order it happens: substrate mixing, the sterilisation and inoculation side, the dark incubation room,

Why this county is unusual Boulder County has an established open-space and agricultural-land programme, a population that will pay a premium for provenance, a dense
Grab a beginner-friendly kit and apply what you just read —
or start with our beginner’s guide to find the right first grow.